
How to Install Brickwebb
How to Install Brickwebb
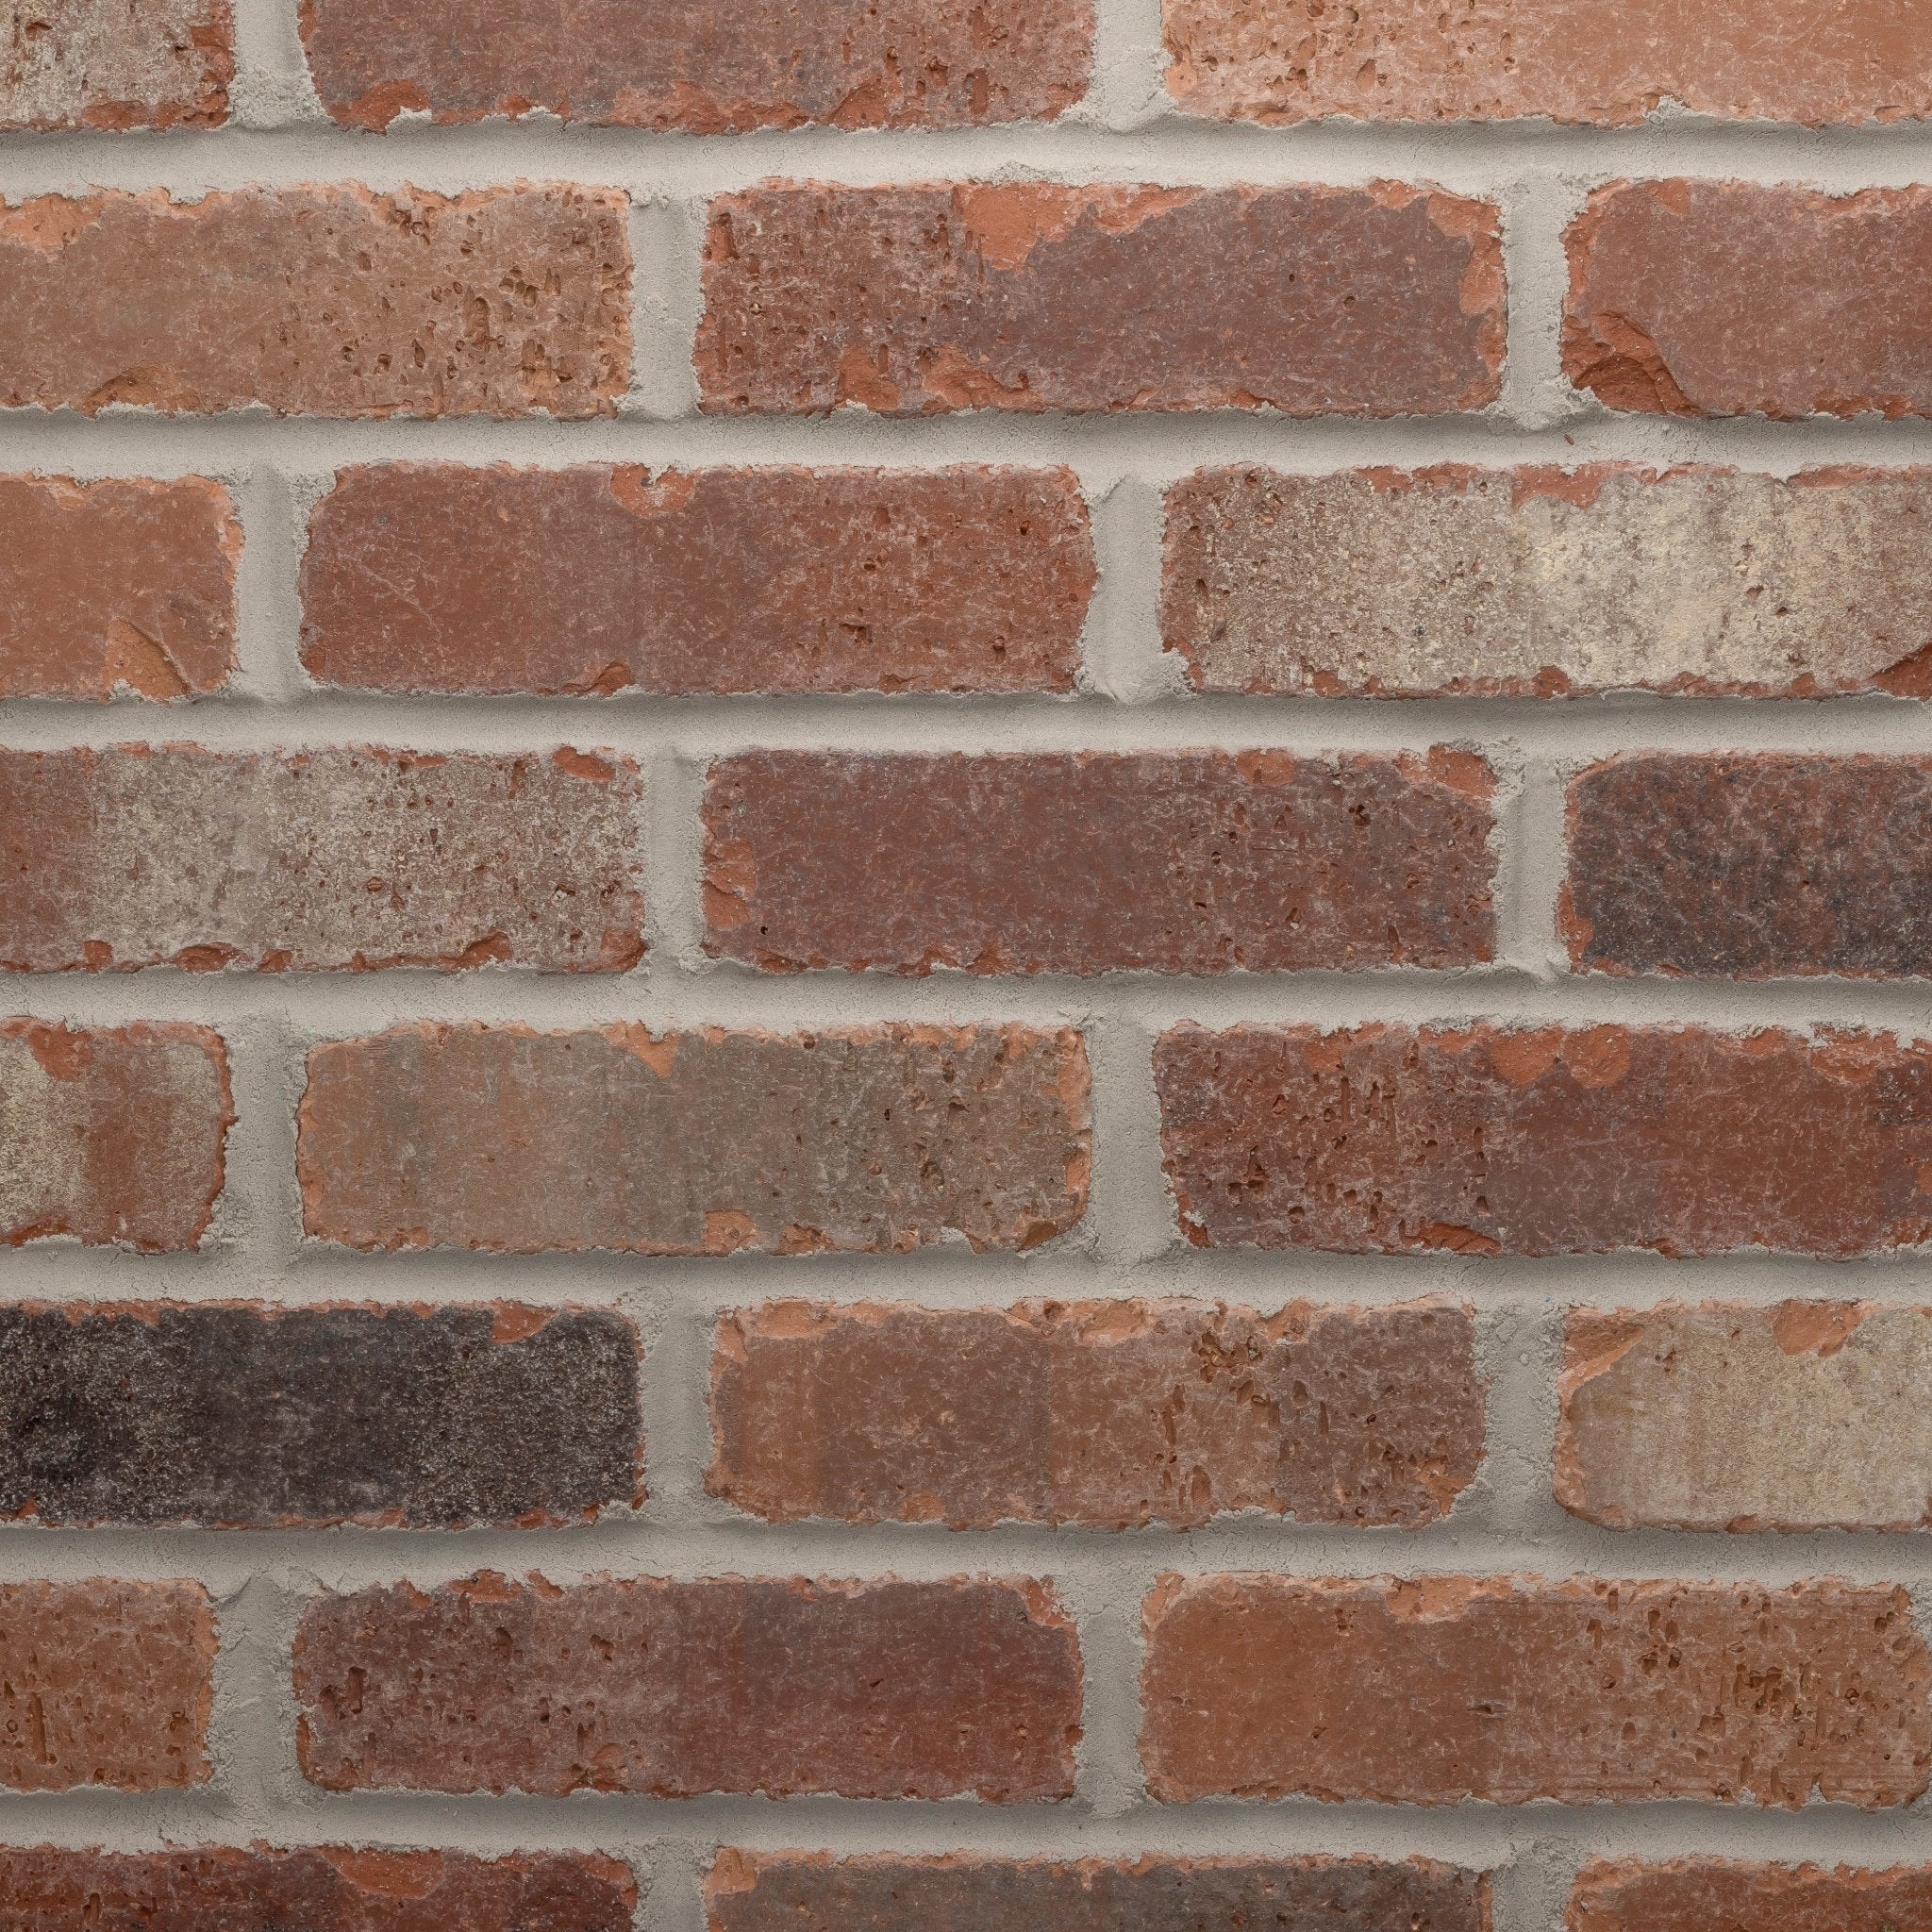
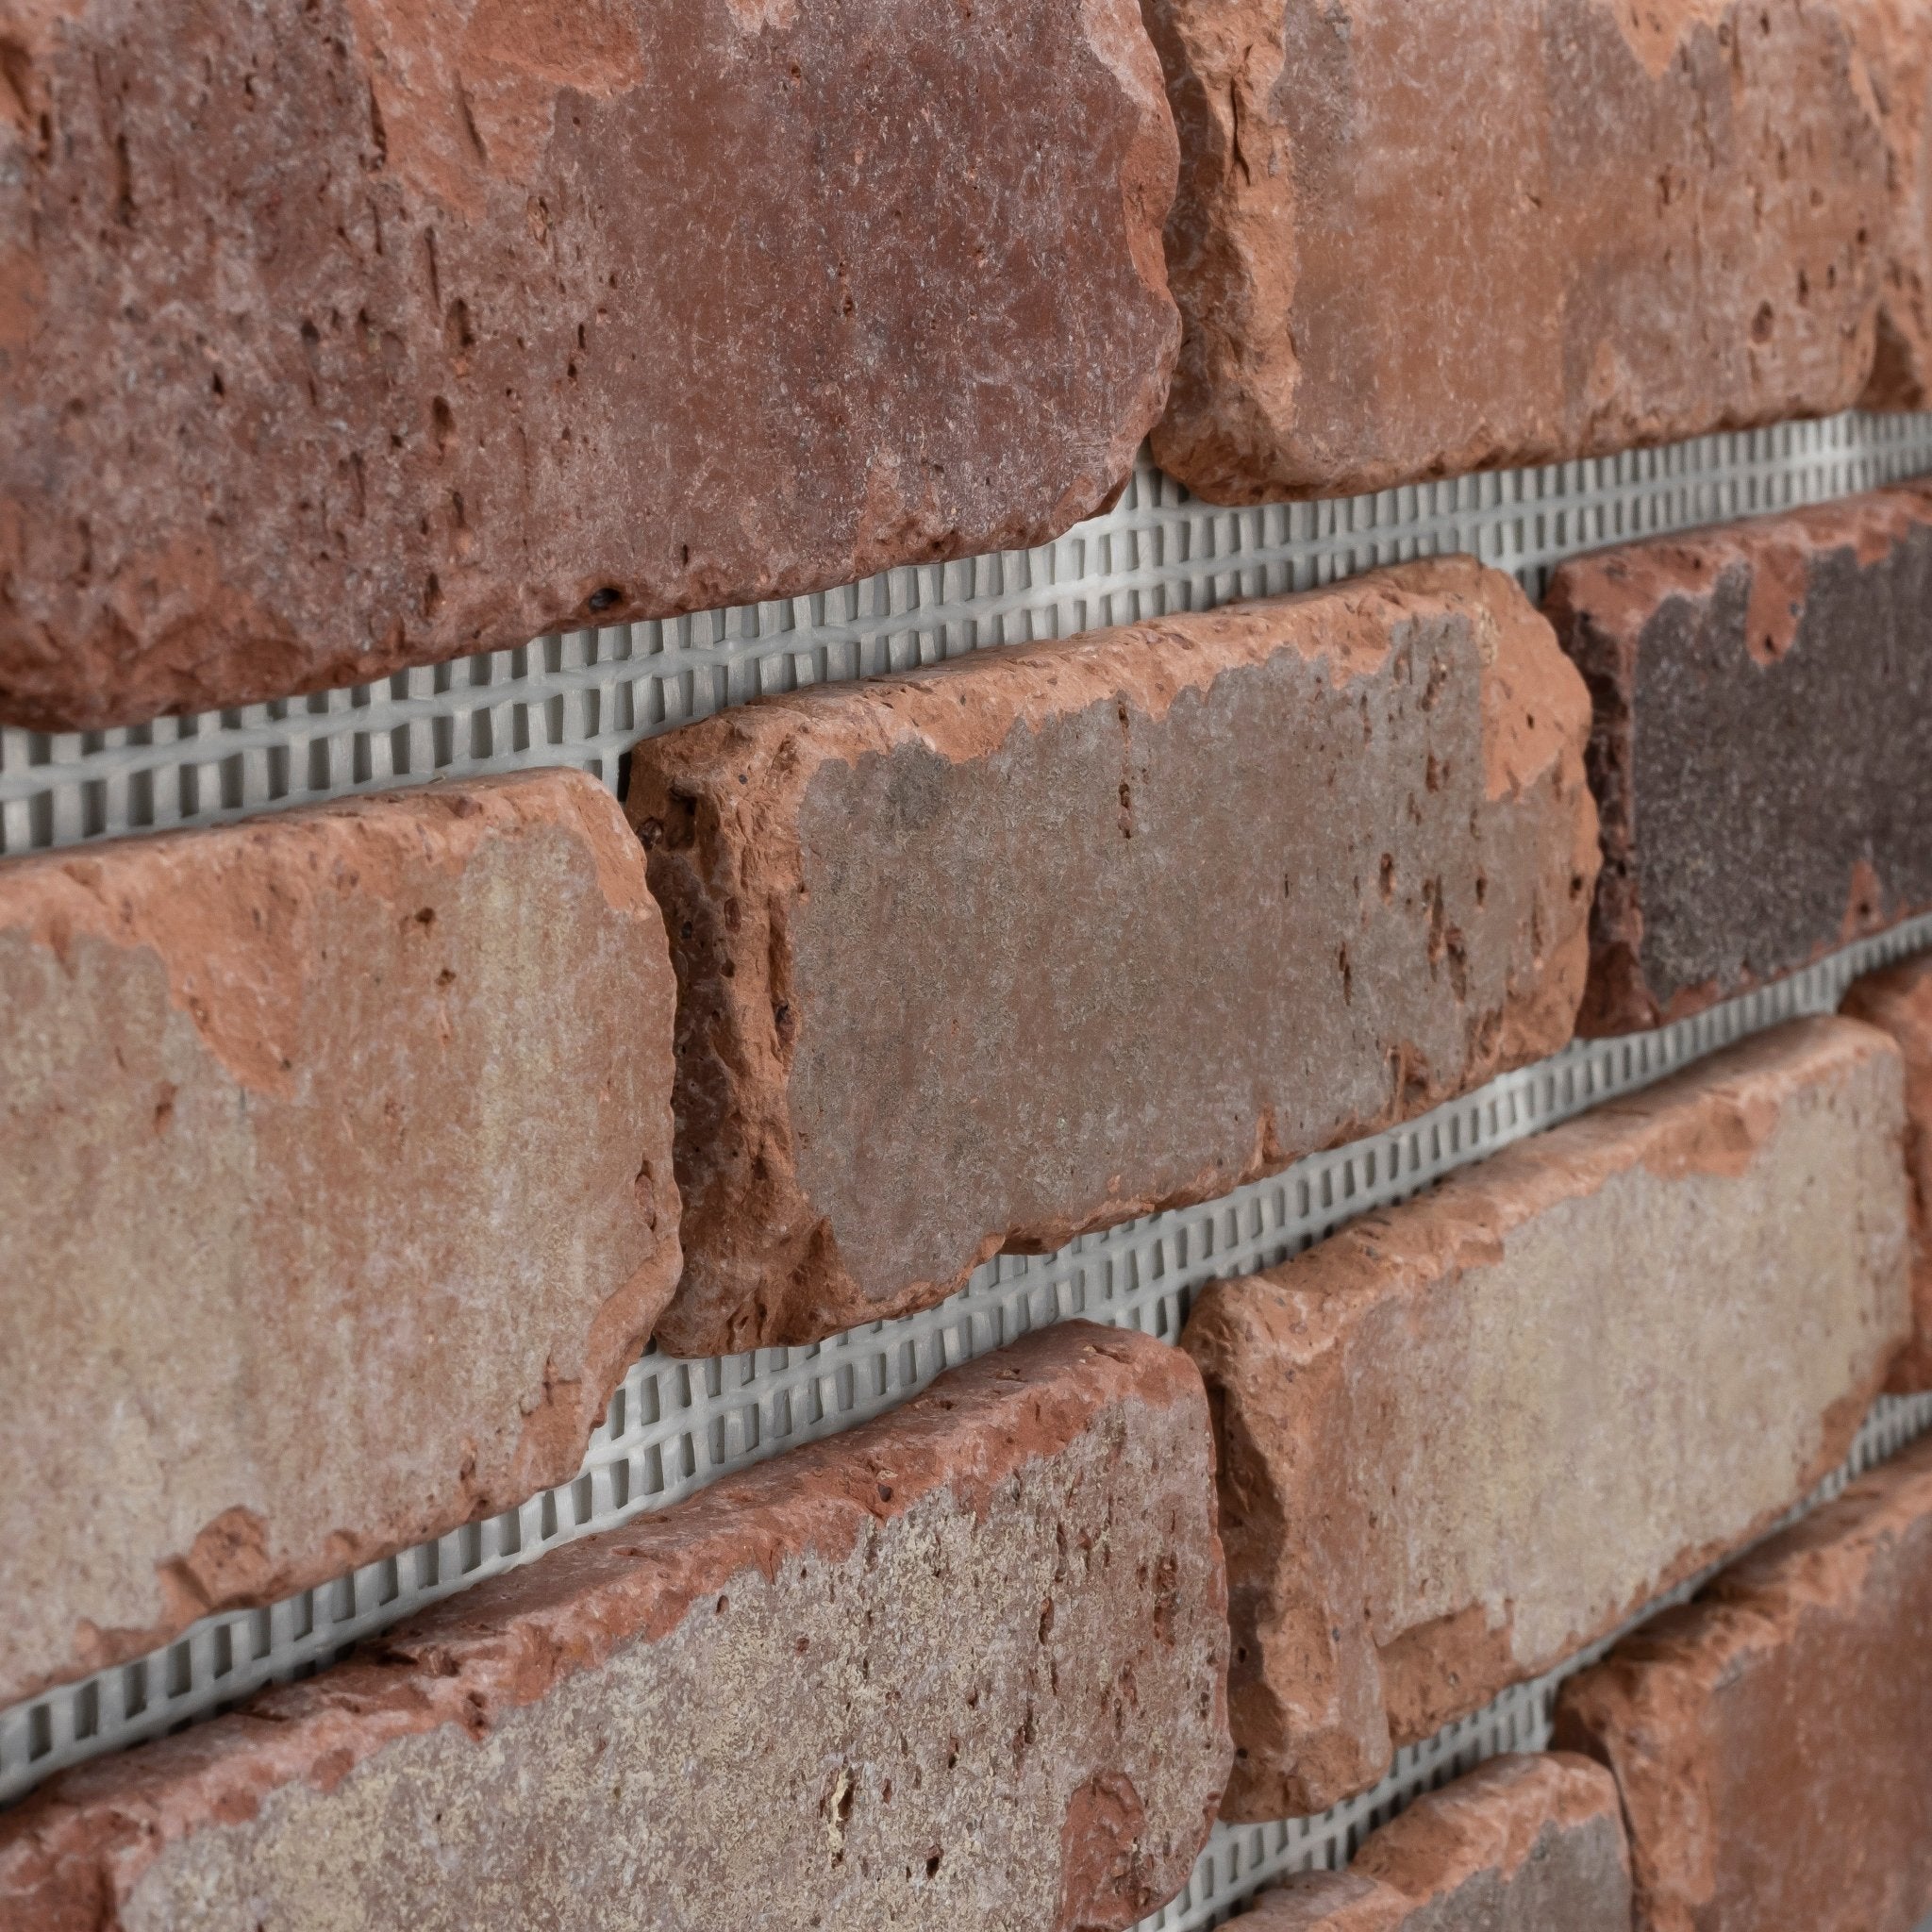
Brickwebb lets you place real thin bricks in neat, straight rows using mesh sheets. This guide shows what to check, what to buy, and the simple steps to install. It works for feature walls, backsplashes, and more.
Video Guide
Printable Install Guide
Before You Start
Check Your Surface
- Surface must be clean, dry, solid, and fairly flat.
- Remove loose paint, dust, grease, and old adhesive. Protect nearby areas with tape and plastic.
- Mark a level line to guide your first row.
Measure and Plan
- Measure height × width to get square feet. Add 5–10% for cuts and waste.
- If you have outside corners, order corner pieces. Plan corners and edges first for the best look.
- Pro tip: From the top of the wall, mark light guide lines every 21 inches to keep rows straight as you work down.
Tools You Will Need
- Tape measure, pencil, and level
- 3/8 in. × 1/4 in. notched trowel
- Mixing bucket and drill paddle (if mixing adhesive)
- Utility knife or shears for mesh; angle grinder or wet tile saw for brick cuts
- Grout bag, 3/4 in. brick jointer, rubber float, sponge, rags
- Safety glasses, gloves, and a dust mask
Materials
- Brickwebb sheets and Brickwebb Corner pieces (if needed)
- Old Mill Modified Adhesive or a polymer-modified thin-set (interior or exterior, per substrate)
- Grout: Type S mortar (bag + jointer method) or sanded tile grout (use grout release for easier cleanup)
- Optional sealer (follow the label for the right surface)
Install Steps
1. Install Corners First
If your project has outside corners, install the corner sheets first, starting at the top of the wall. This gives the cleanest look and keeps courses aligned.
2. Apply Adhesive
Mix the adhesive as directed. Using the 3/8 in. × 1/4 in. notched trowel, spread a thin, even layer on a small area so it does not skin over.
3. Set the First Sheets
- Press the first sheet into the adhesive along your level line. Press firmly so adhesive keys through the mesh.
- Keep 3/8 in. between bricks for grout. Stagger sheets so vertical seams don’t line up in a straight column.
- If a brick on the sheet looks off, pull it off the mesh, butter the back, and reset it in line.
- If a sheet slowly slips, you can add two small drywall screws or nails through the mesh to hold it. You can leave them in and grout over.
4. Continue the Field
- Work across the wall, checking level every few rows.
- Cut sheets around outlets and switches. Keep faces clean as you go.
5. Let It Set
Let the sheets dry for at least 24 hours (follow the adhesive label). Do not grout until the adhesive has set and the bricks don’t move.
6. Grout the Joints
Choose one method below. Make a small test area first.
Grout with a Bag (Traditional)
- Mix Type S mortar per the bag. Trim the grout bag tip to about 1/2 in.
- Fill the joints slightly proud. Let them firm up, then tool with a 3/4 in. brick jointer for a clean, even look.
- Brush crumbs off and lightly wipe faces after tooling. Don’t try to wipe wet mortar from faces.
Grout with a Float (Sanded Tile Grout)
- For color-matched joints and a smoother finish, you can use sanded tile grout.
- Press grout across the surface with a rubber float, then wipe faces with a damp sponge.
- Tip: Use a grout-release product first to make cleanup easier.
Important: Do not use Type S or Type N mortar to adhere Brickwebb sheets. These are for grouting, not bonding.
7. Final Clean and Seal
- After the grout cures, remove light haze with a damp sponge.
- Seal if your project needs extra protection (follow the sealer label and test a small area first).
Pro Tips
- Start at the most visible corner and work toward less visible areas.
- Cut bricks face down to reduce chipping. Always wear eye and dust protection.
- Keep a small brush handy to tidy joints while mortar is workable.
Troubleshooting
Joints look uneven
Check your level line and sheet alignment. Lift and reset while adhesive is still wet.
Adhesive skins over
Spread smaller areas. Scrape and reapply fresh adhesive if it skins.
Grout stains the face
Try the bag method or apply grout release before using sanded grout. Wipe sooner with a damp sponge.