
Planning & Prep
Planning & Prep
Good prep makes install day simple. Use this page to measure, plan materials, and get your surface ready for Brickwebb or Panel+.
Measure Your Project
1) Find wall area
- Measure height × width in feet for each wall.
- Add the areas together, then subtract doors, windows, and openings.
2) Add extra for cuts and waste
- Multiply your total by 1.05 to 1.10 (add 5–10%).
- Order a little more if your wall has many cuts or angles.
3) Plan for corners (if you have outside corners)
- Measure the total linear feet of outside corners.
- Order corner pieces by linear feet (check the product page for how many linear feet each box covers).
- Start installs at corners for the cleanest look.
Open the Coverage Calculator to quickly do the math.
Tools Checklist
- Tape measure, pencil, and level or laser
- Notched trowel (follow the product guide for size)
- Mixing bucket and drill paddle (if mixing adhesive)
- Utility knife or shears (for mesh), angle grinder or wet saw (for brick/stone cuts)
- Grout bag or rubber float, jointer, sponge, rags
- Painter’s tape and plastic for protection
- Safety glasses, gloves, and a dust mask
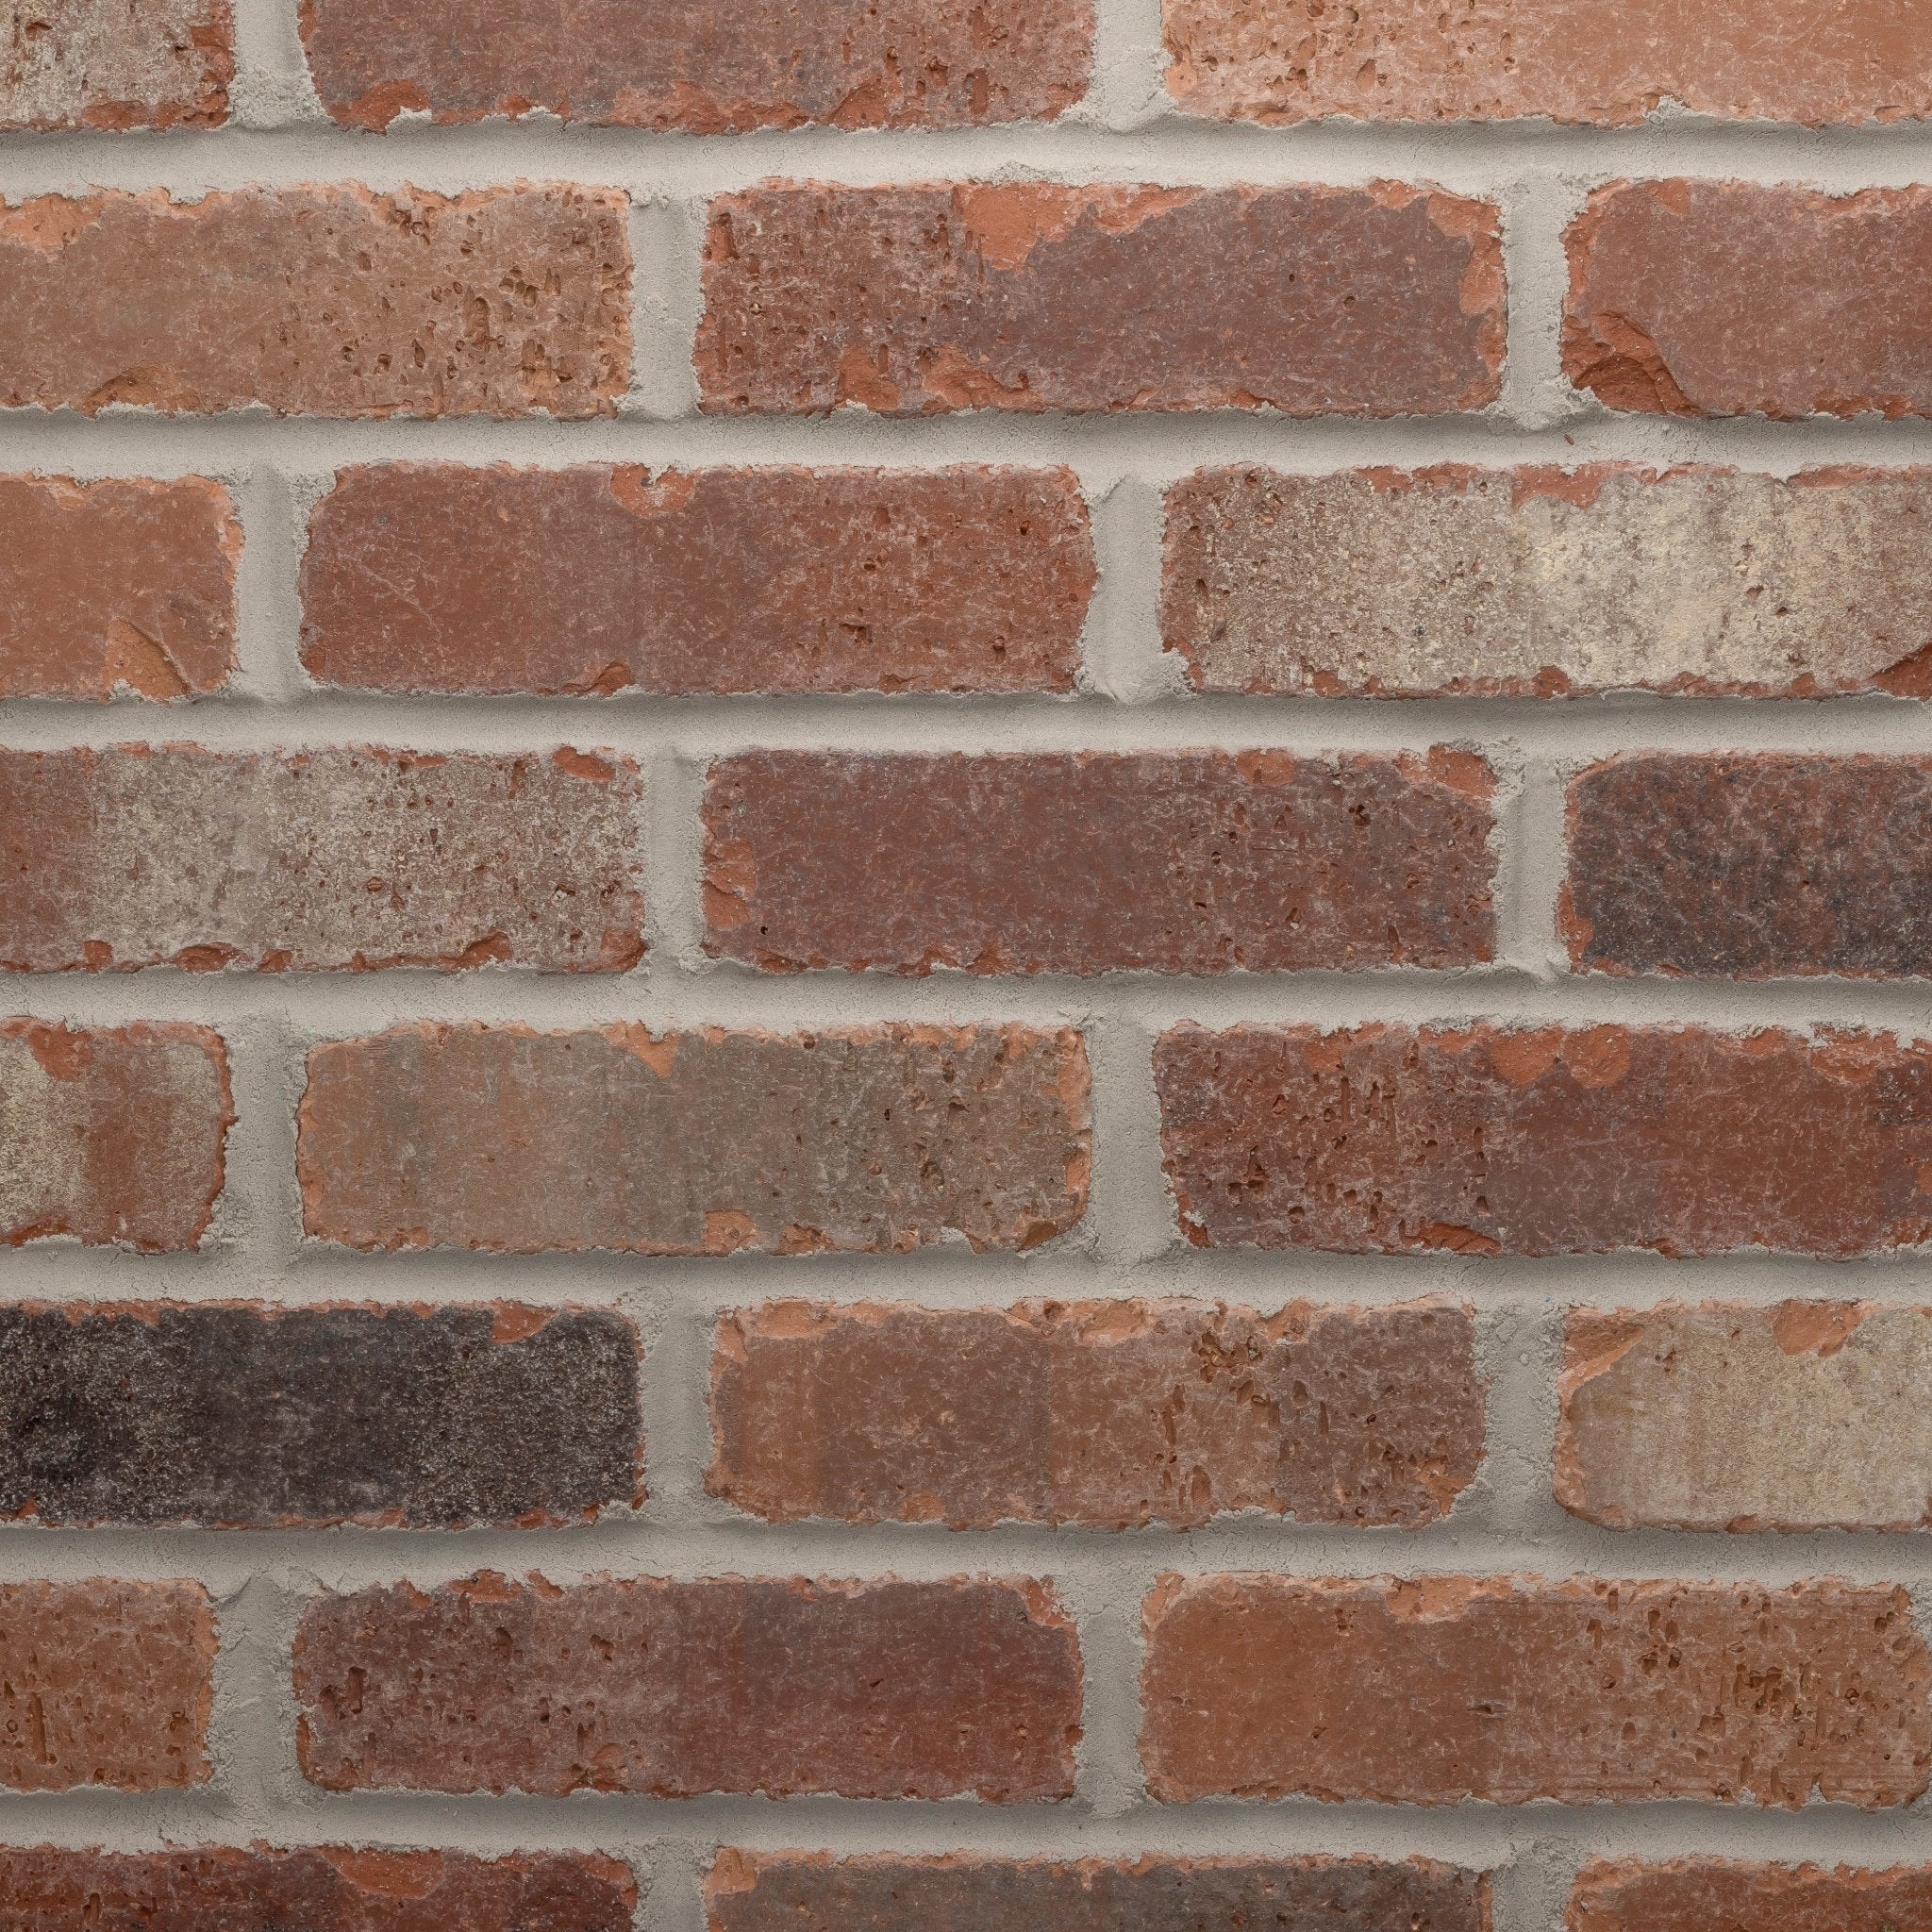
Check Your Surface
Your surface should be clean, dry, solid, and fairly flat. Fix problems before you start.
Good surfaces
- Interior drywall that is sound and clean
- Cement backer board
- Concrete and masonry (clean and free of sealers)
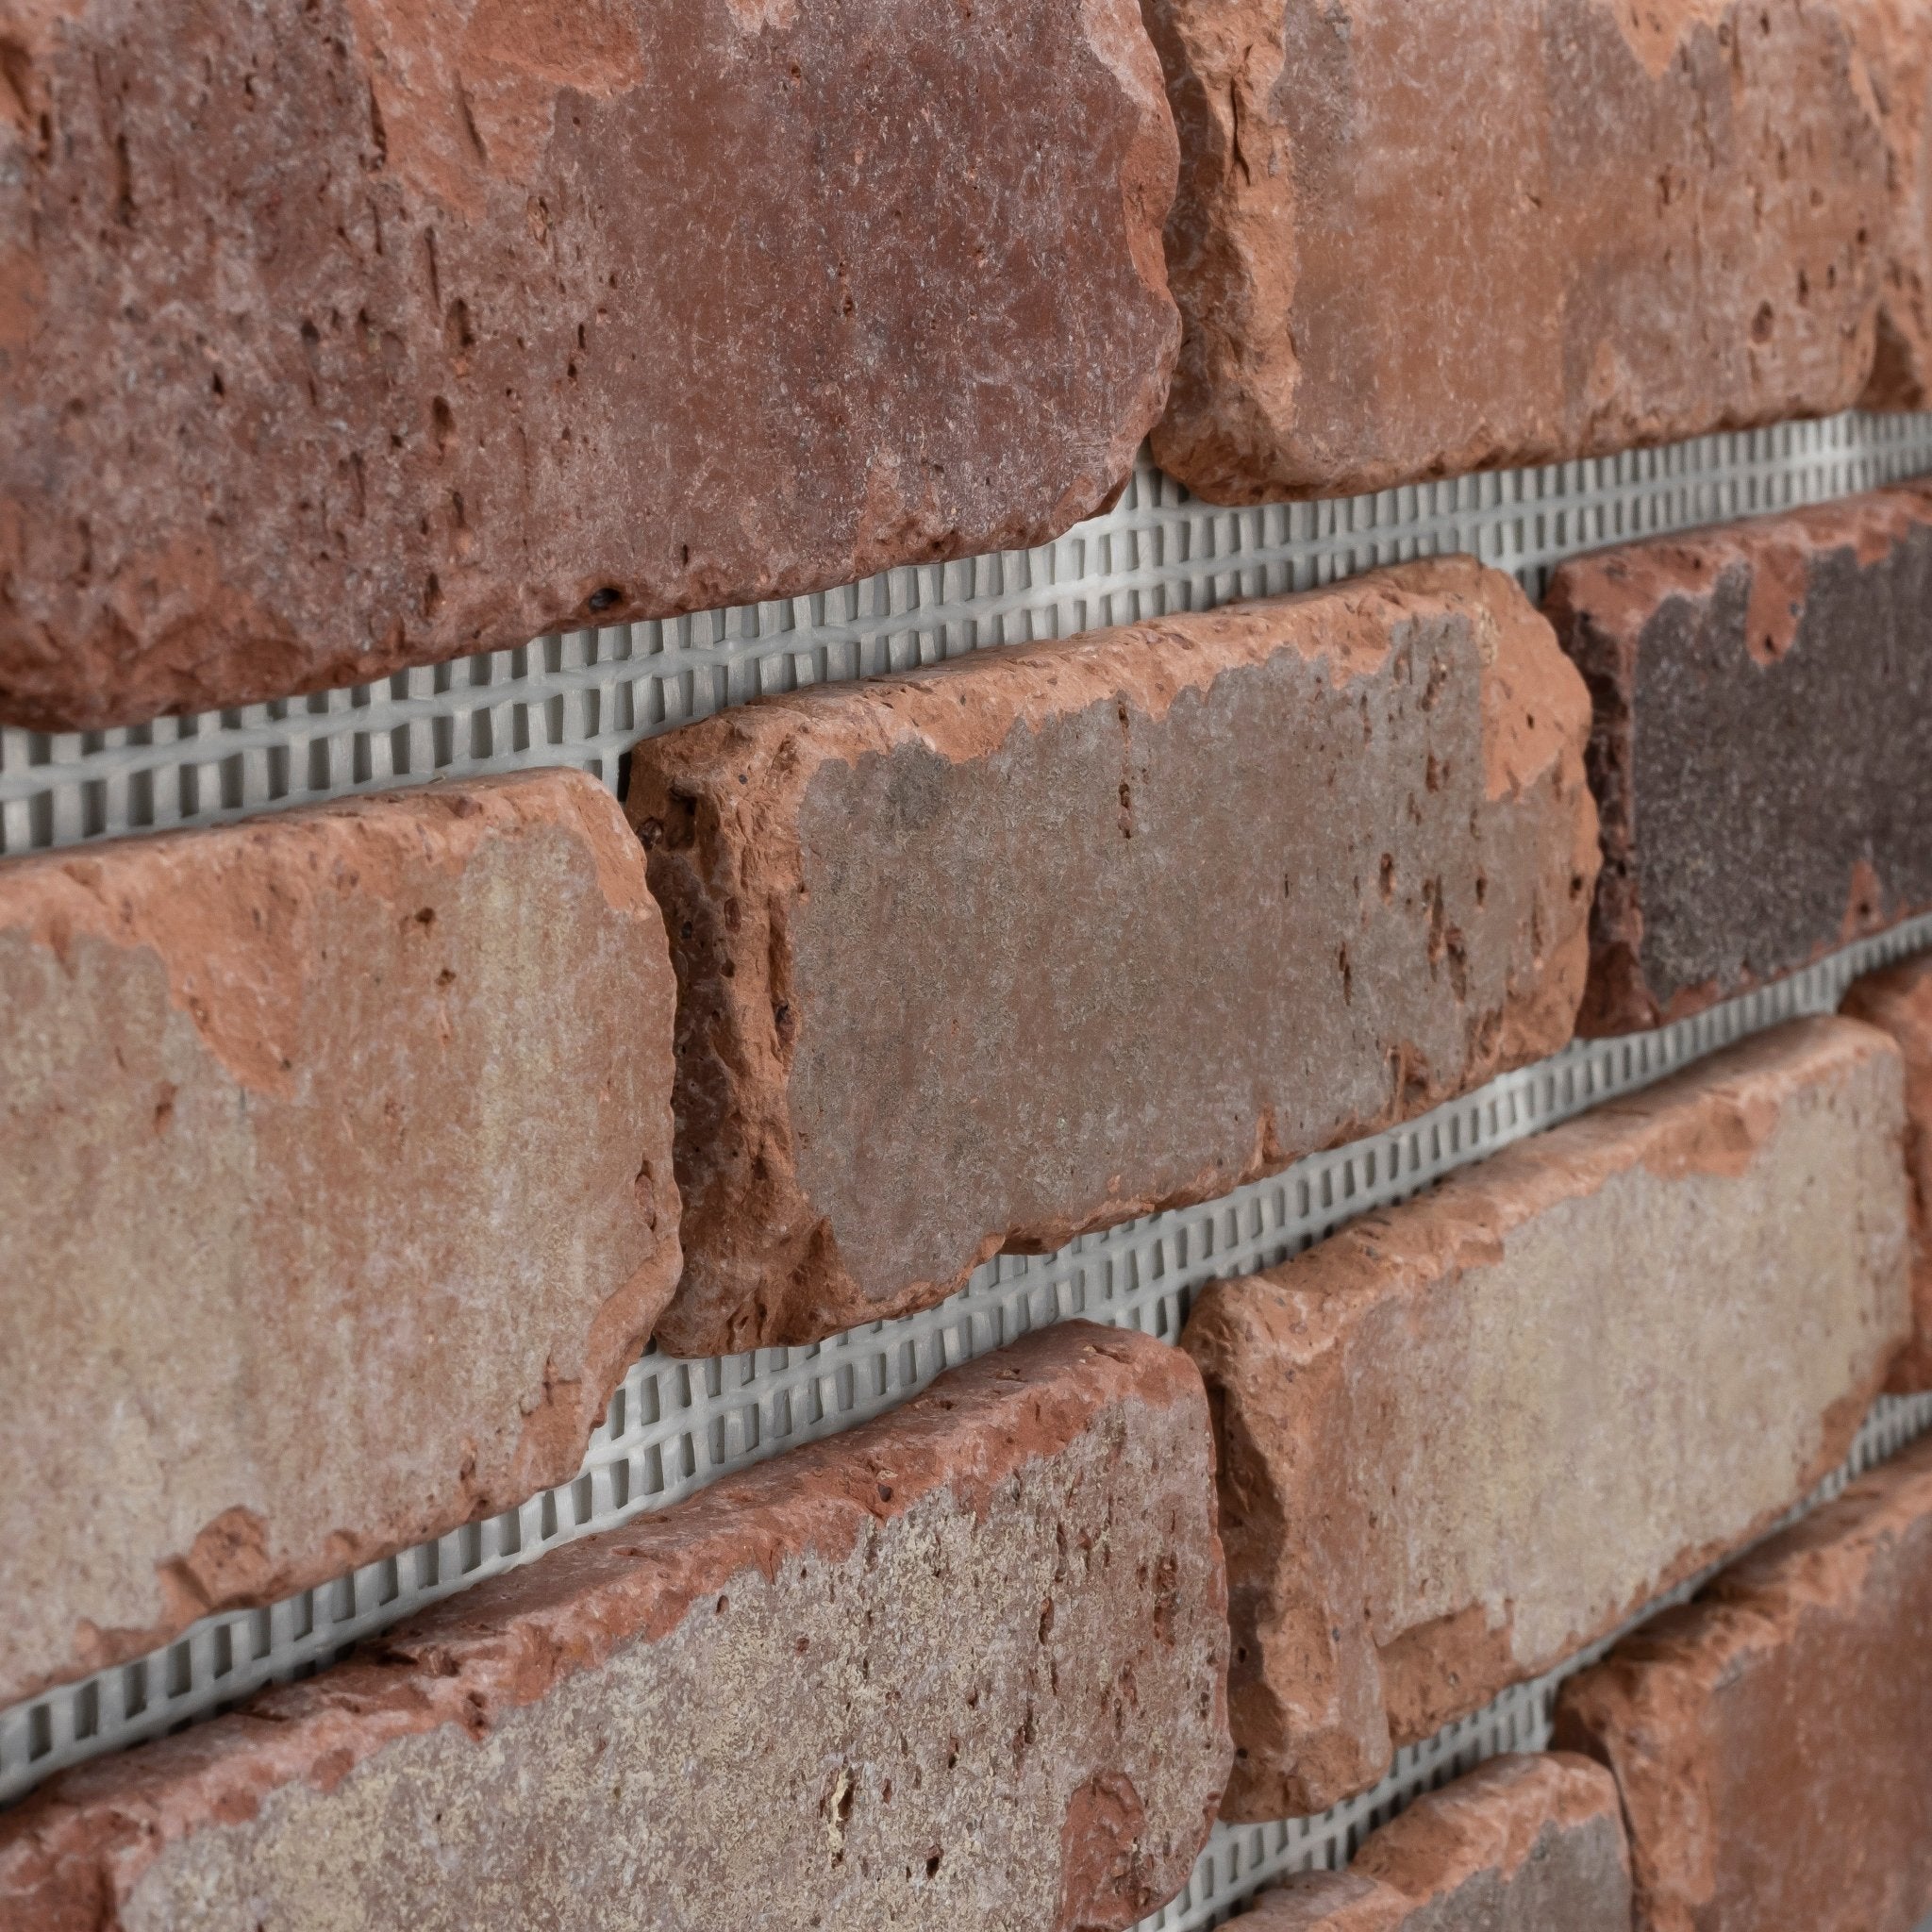
- Panel+ when used as the base for thin brick or stone (follow that system’s guide)
Not recommended
- Loose or flaking paint, wallpaper, or dirty/oily surfaces
- Cracked, crumbly, or damp areas
- Surfaces with old glue, dust, or sealers that block bonding
Simple prep steps
- Wash dusty or greasy areas. Let dry completely.
- Scrape loose paint. Sand glossy paint so it scuffs and bonds better.
- Patch holes and high/low spots so the wall is flat.
- Mark a level line to guide your first row. For tall walls, add light guide marks every 18–24 inches.
Materials & Adhesives
Use the approved adhesive or mortar for your product and surface. Check the product guide for the right type and trowel size. Do not use grout or Type N/S mortar to bond sheets—those are for grouting.
Before you buy
- Confirm the adhesive type for your substrate (interior vs exterior, wet vs dry area).
- Check the open time and cure time on the label so you can plan your work.
- Pick a grout method you like (bag + jointer for a classic look, or sanded tile grout with a float). Make a small test area first.
Layout Tips
- Start with corners and edges. This gives the best look and keeps rows straight.
- Dry-fit a few sheets to see where cuts will land.
- Stagger vertical seams so they don’t stack in a straight line.
- Leave a small gap at floors, ceilings, and trim for movement. Cover with trim or caulk as needed.
Weather & Safety
- Work in the temperature range shown on the adhesive/grout label.
- Protect your work from rain, water, and freezing while it cures.
- Wear eye protection, gloves, and a dust mask when cutting and mixing.