
How to Install the Panel+ Wall System
How to Install Panel+
Panel+ gives you a smooth, insulated base that is ready for thin brick or stone. This guide shows the tools, prep, and clear steps for both adhesive-applied and mechanically fastened installs. Then it walks through thin brick and grout so you can finish with confidence. :contentReference[oaicite:2]{index=2}
Before You Start
Tools and Materials
- 4 ft level, tape measure, pencil
- Utility knife for panels; brick or tile saw for cuts
- Mixing drill and paddle, 5-gallon bucket
- Old Mill Adhesive and Old Mill Air & Water Barrier
- Notched trowel (1/2 in. notch for adhesive-applied)
- Mortar scoop, joint tooler, grout bag, mortar brush
- Screws and Old Mill washers (for mechanically fastened)
- Safety glasses, gloves, dust mask
These are the standard tools used in Old Mill’s Panel+ system. :contentReference[oaicite:3]{index=3} :contentReference[oaicite:4]{index=4}
Surface Prep
- Install required flashing and house wrap per manufacturer instructions. Seal exterior sheathing. Make sure surfaces are clean, dry, and sound. :contentReference[oaicite:5]{index=5}
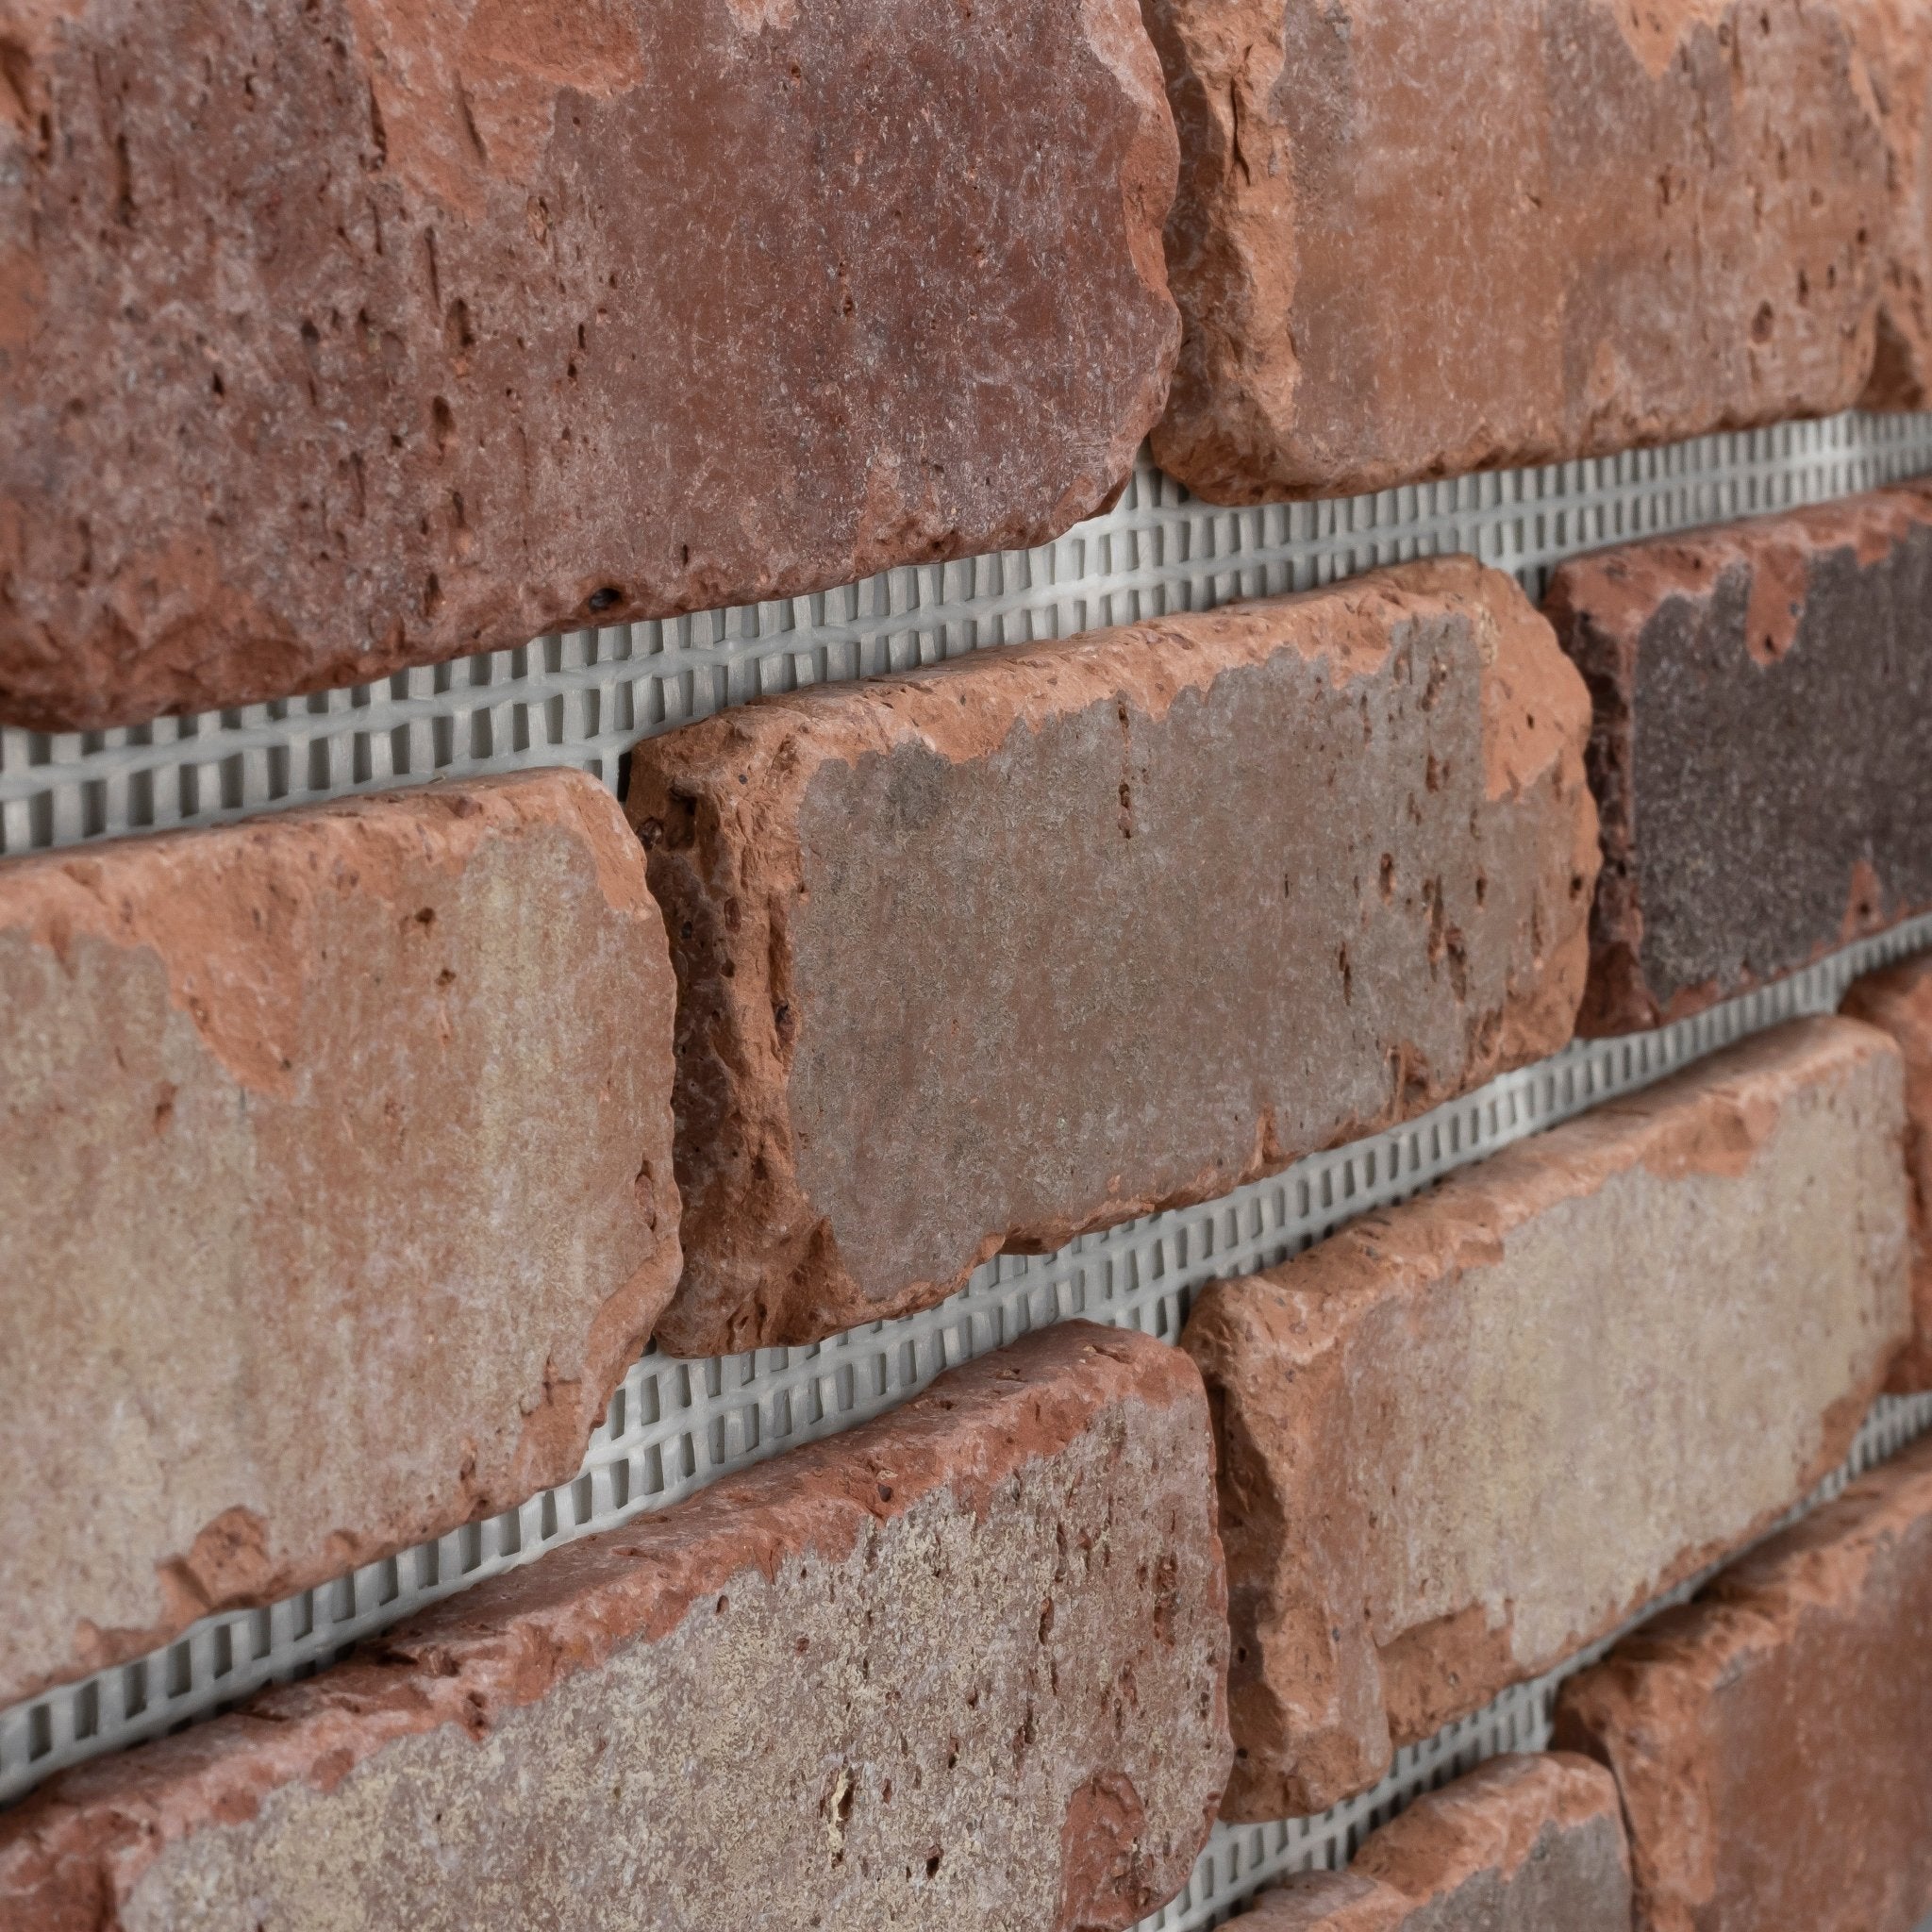
- Cut off the bottom alignment track of the first course so a full row of thin brick can sit at the base. :contentReference[oaicite:6]{index=6}
Method 1: Adhesive-Applied (Fluid-Applied)
Step 1: Apply Air & Water Barrier
- Use a paint roller or spray to apply Old Mill Air & Water Barrier. Let it cure: dry to touch 1 hour, recoat 2 hours, full dry about 12 hours at room temperature. :contentReference[oaicite:7]{index=7}
Step 2: Comb Adhesive with 1/2 in. Notch
- Mix Old Mill Adhesive per the bag. Trowel it over the cured barrier with a 1/2 in. notch, combing vertical beads to create moisture channels. :contentReference[oaicite:8]{index=8}
Step 3: Set Panels
- Start at the bottom of an outside corner. Set the first panel flush to the corner and perfectly level. Work horizontally. :contentReference[oaicite:9]{index=9}
- Use the tongue-and-groove edges for tight joints and continuous insulation. Stagger panels so vertical seams don’t stack. Cut around windows and doors as needed. :contentReference[oaicite:10]{index=10}
- Allow the adhesive to cure completely, typically overnight, before adding thin brick. :contentReference[oaicite:11]{index=11}
Method 2: Mechanically Fastened
Step 1: Layout and Panel Order
- Start at the bottom of an outside corner with the alignment track removed on the first course. Keep panels level and work horizontally. Stagger vertical seams. :contentReference[oaicite:12]{index=12}
Step 2: Fasten Panels
- Use Old Mill washers and screws. Drive fasteners into framing to the depth specified for your structure, at least 1 in. into framing as a general rule of thumb. Follow spacing guidance and add fasteners near edges per detail. :contentReference[oaicite:13]{index=13}
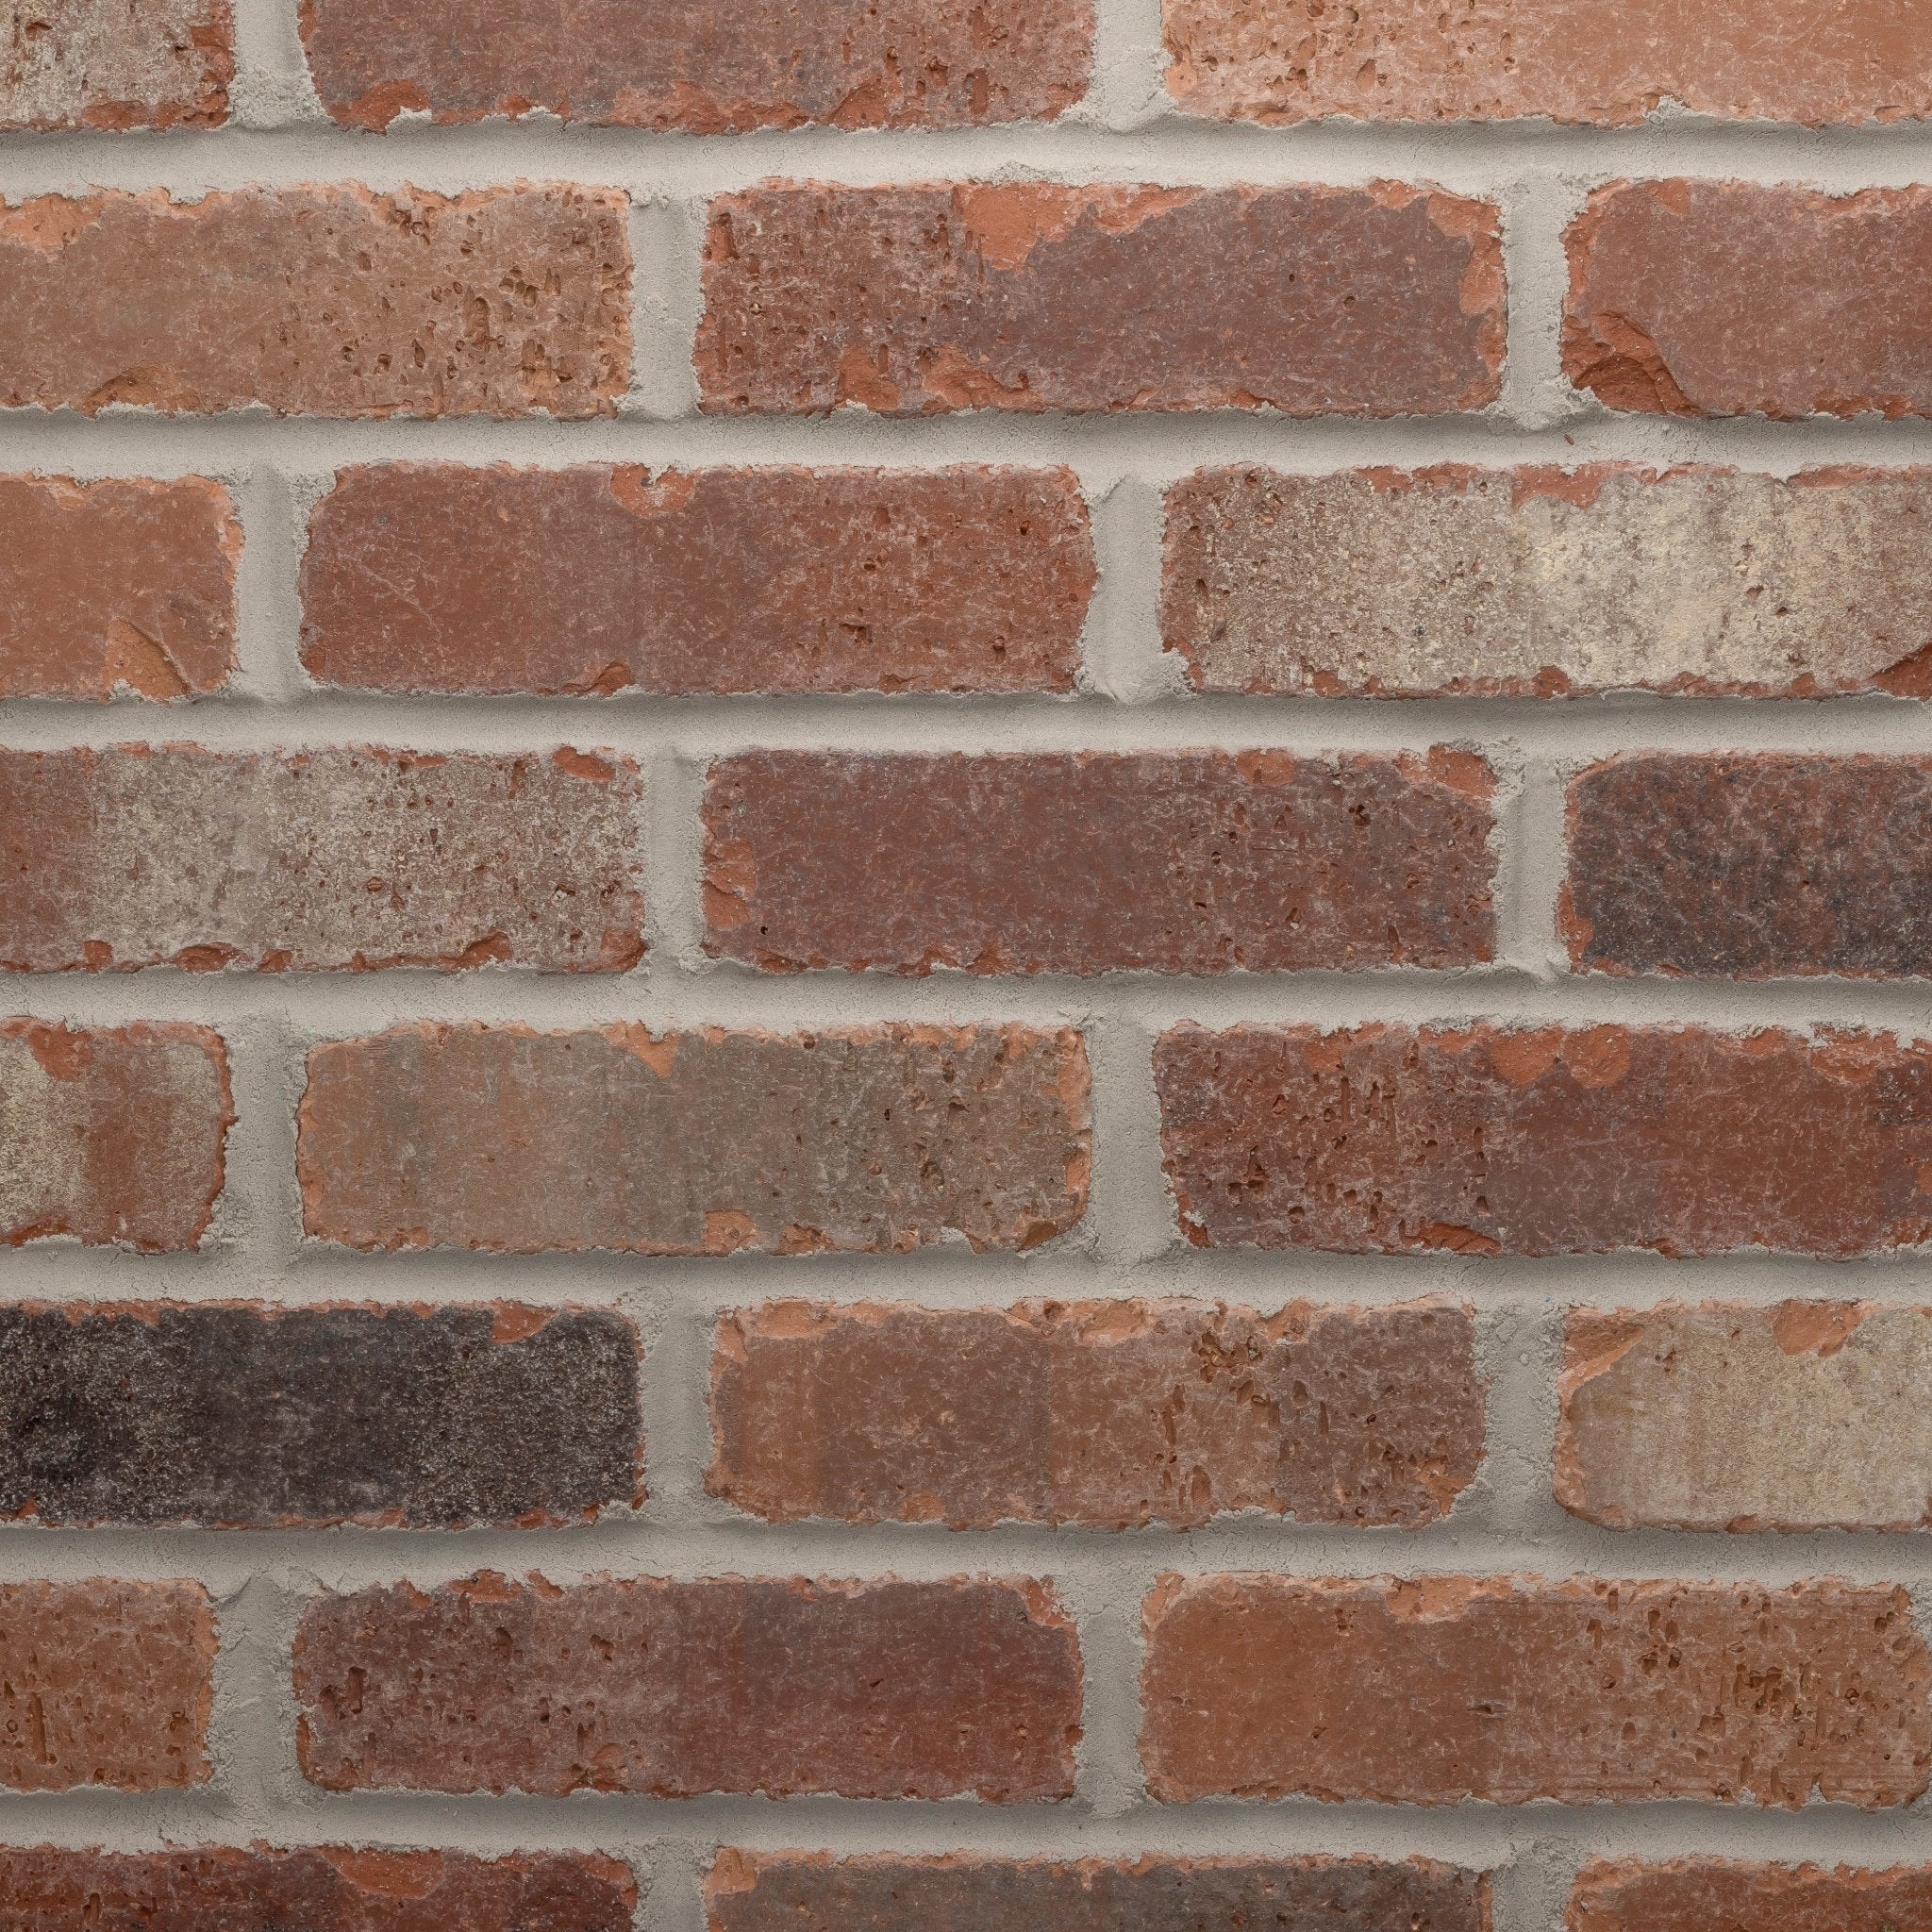
Thin Brick on Panel+
Install Corners First
- Start at the top of the wall and place corner bricks first so the courses line up around the edge. :contentReference[oaicite:14]{index=14}
Apply Adhesive and Run the First Course
- Apply a 3/8 in. bead of Old Mill Adhesive to the back of corner bricks. Set them on the panel’s alignment track. Then place adhesive directly on the brick tracks and run a full first course. :contentReference[oaicite:15]{index=15} :contentReference[oaicite:16]{index=16}
- After the first course, snap plumb lines to keep everything straight as you continue. Cut pieces as needed. :contentReference[oaicite:17]{index=17}
Grout the Joints
Type S Mortar (Bag and Jointer)
- Mix Type S mortar to a smooth, bag-friendly consistency. Fill horizontal joints first, then vertical, and let it firm up. Tool joints so they finish about 1/8 in. below the brick face. :contentReference[oaicite:18]{index=18}
Clean and Finish
- When grout stiffens, brush diagonally to remove crumbs. After grout cures, clean brick with the recommended cleaner and rinse well. Use cleaning solutions 24–72 hours after grouting. :contentReference[oaicite:19]{index=19} :contentReference[oaicite:20]{index=20}
Alignment Tips
- Keep panels level as you go. Use a level and a corner thin brick to align tracks around corners. :contentReference[oaicite:21]{index=21}
- Stagger panels to avoid continuous vertical seams. :contentReference[oaicite:22]{index=22}
Safety and Weather
- Wear eye protection, gloves, and a dust mask when cutting and mixing.
- Follow temperature ranges on the adhesive and grout labels. Keep work dry and protected while curing. :contentReference[oaicite:23]{index=23}
Troubleshooting
Panel seams show or wander
Re-check level on each course and keep seams staggered. Use the tongue-and-groove to lock panels tight. :contentReference[oaicite:24]{index=24}
Adhesive skins before setting a panel
Work smaller areas and re-comb fresh adhesive. Follow open time on the bag. :contentReference[oaicite:25]{index=25}
Grout smears on faces
Let joints firm up, tool neatly, then brush diagonally. For heavy residue, wait until cured and use the recommended cleaner. :contentReference[oaicite:26]{index=26}