


News

Brickwebb for Outdoor Kitchens: A Weekend Build Guide
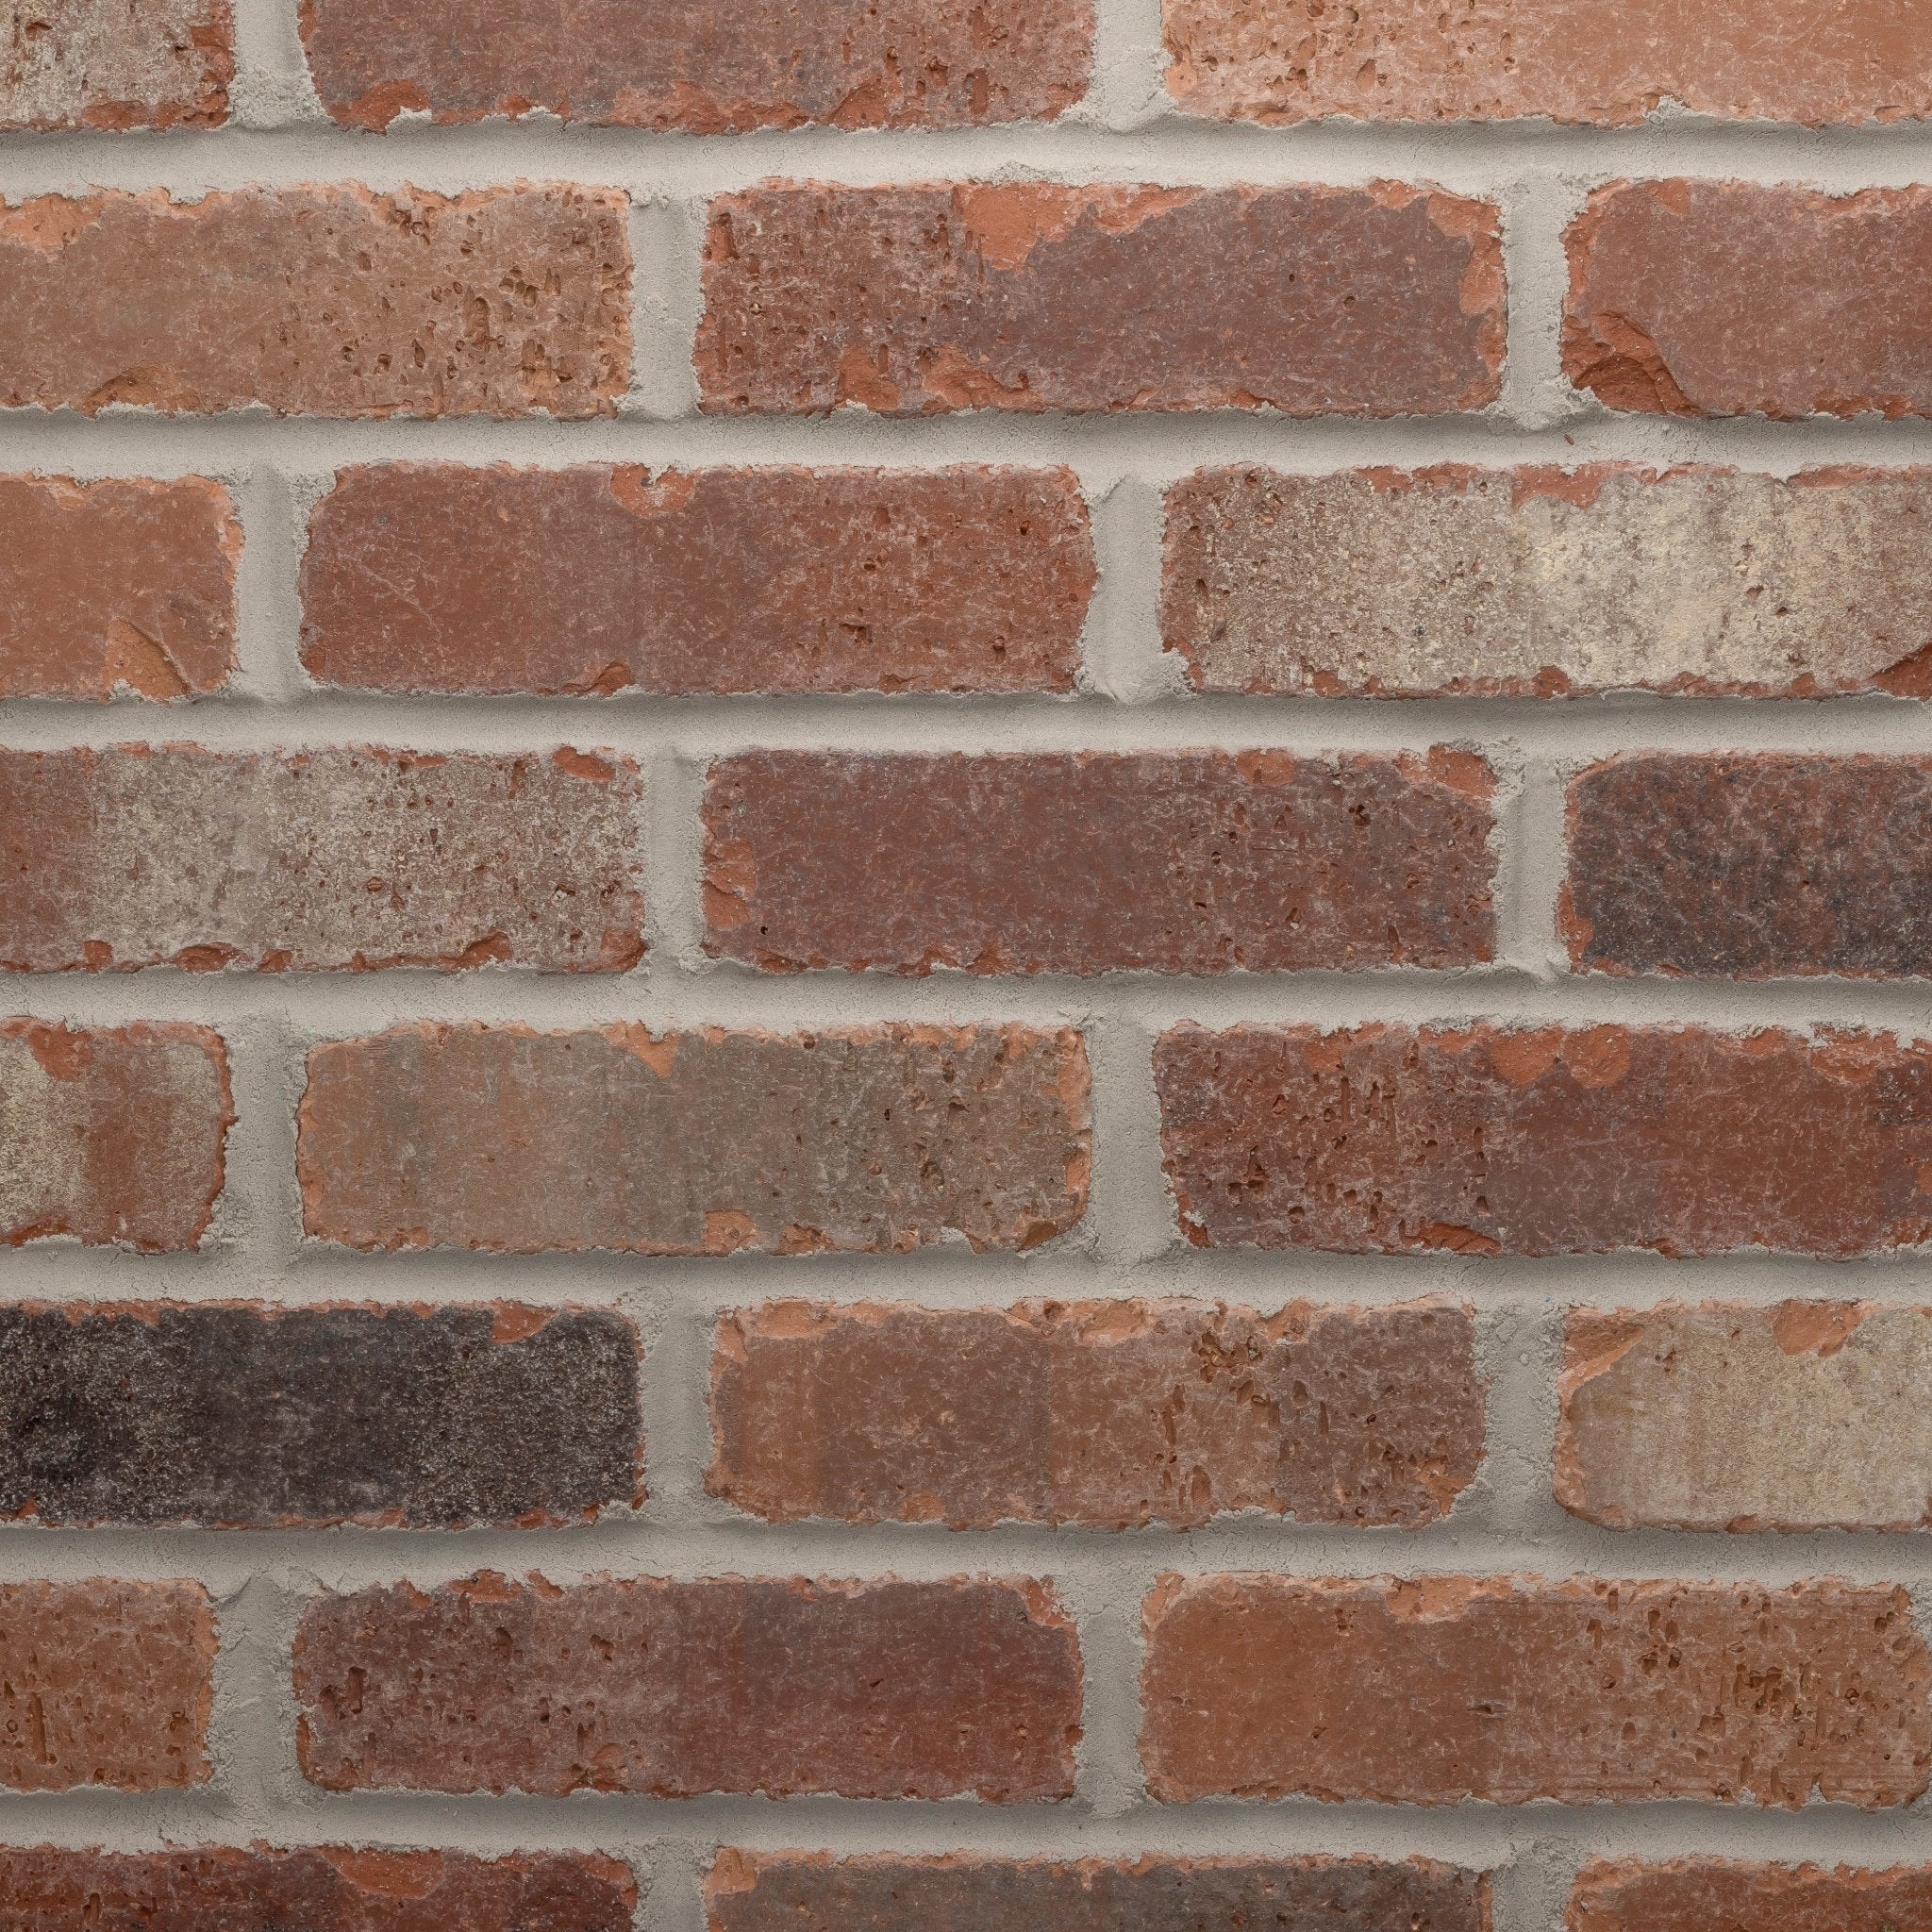
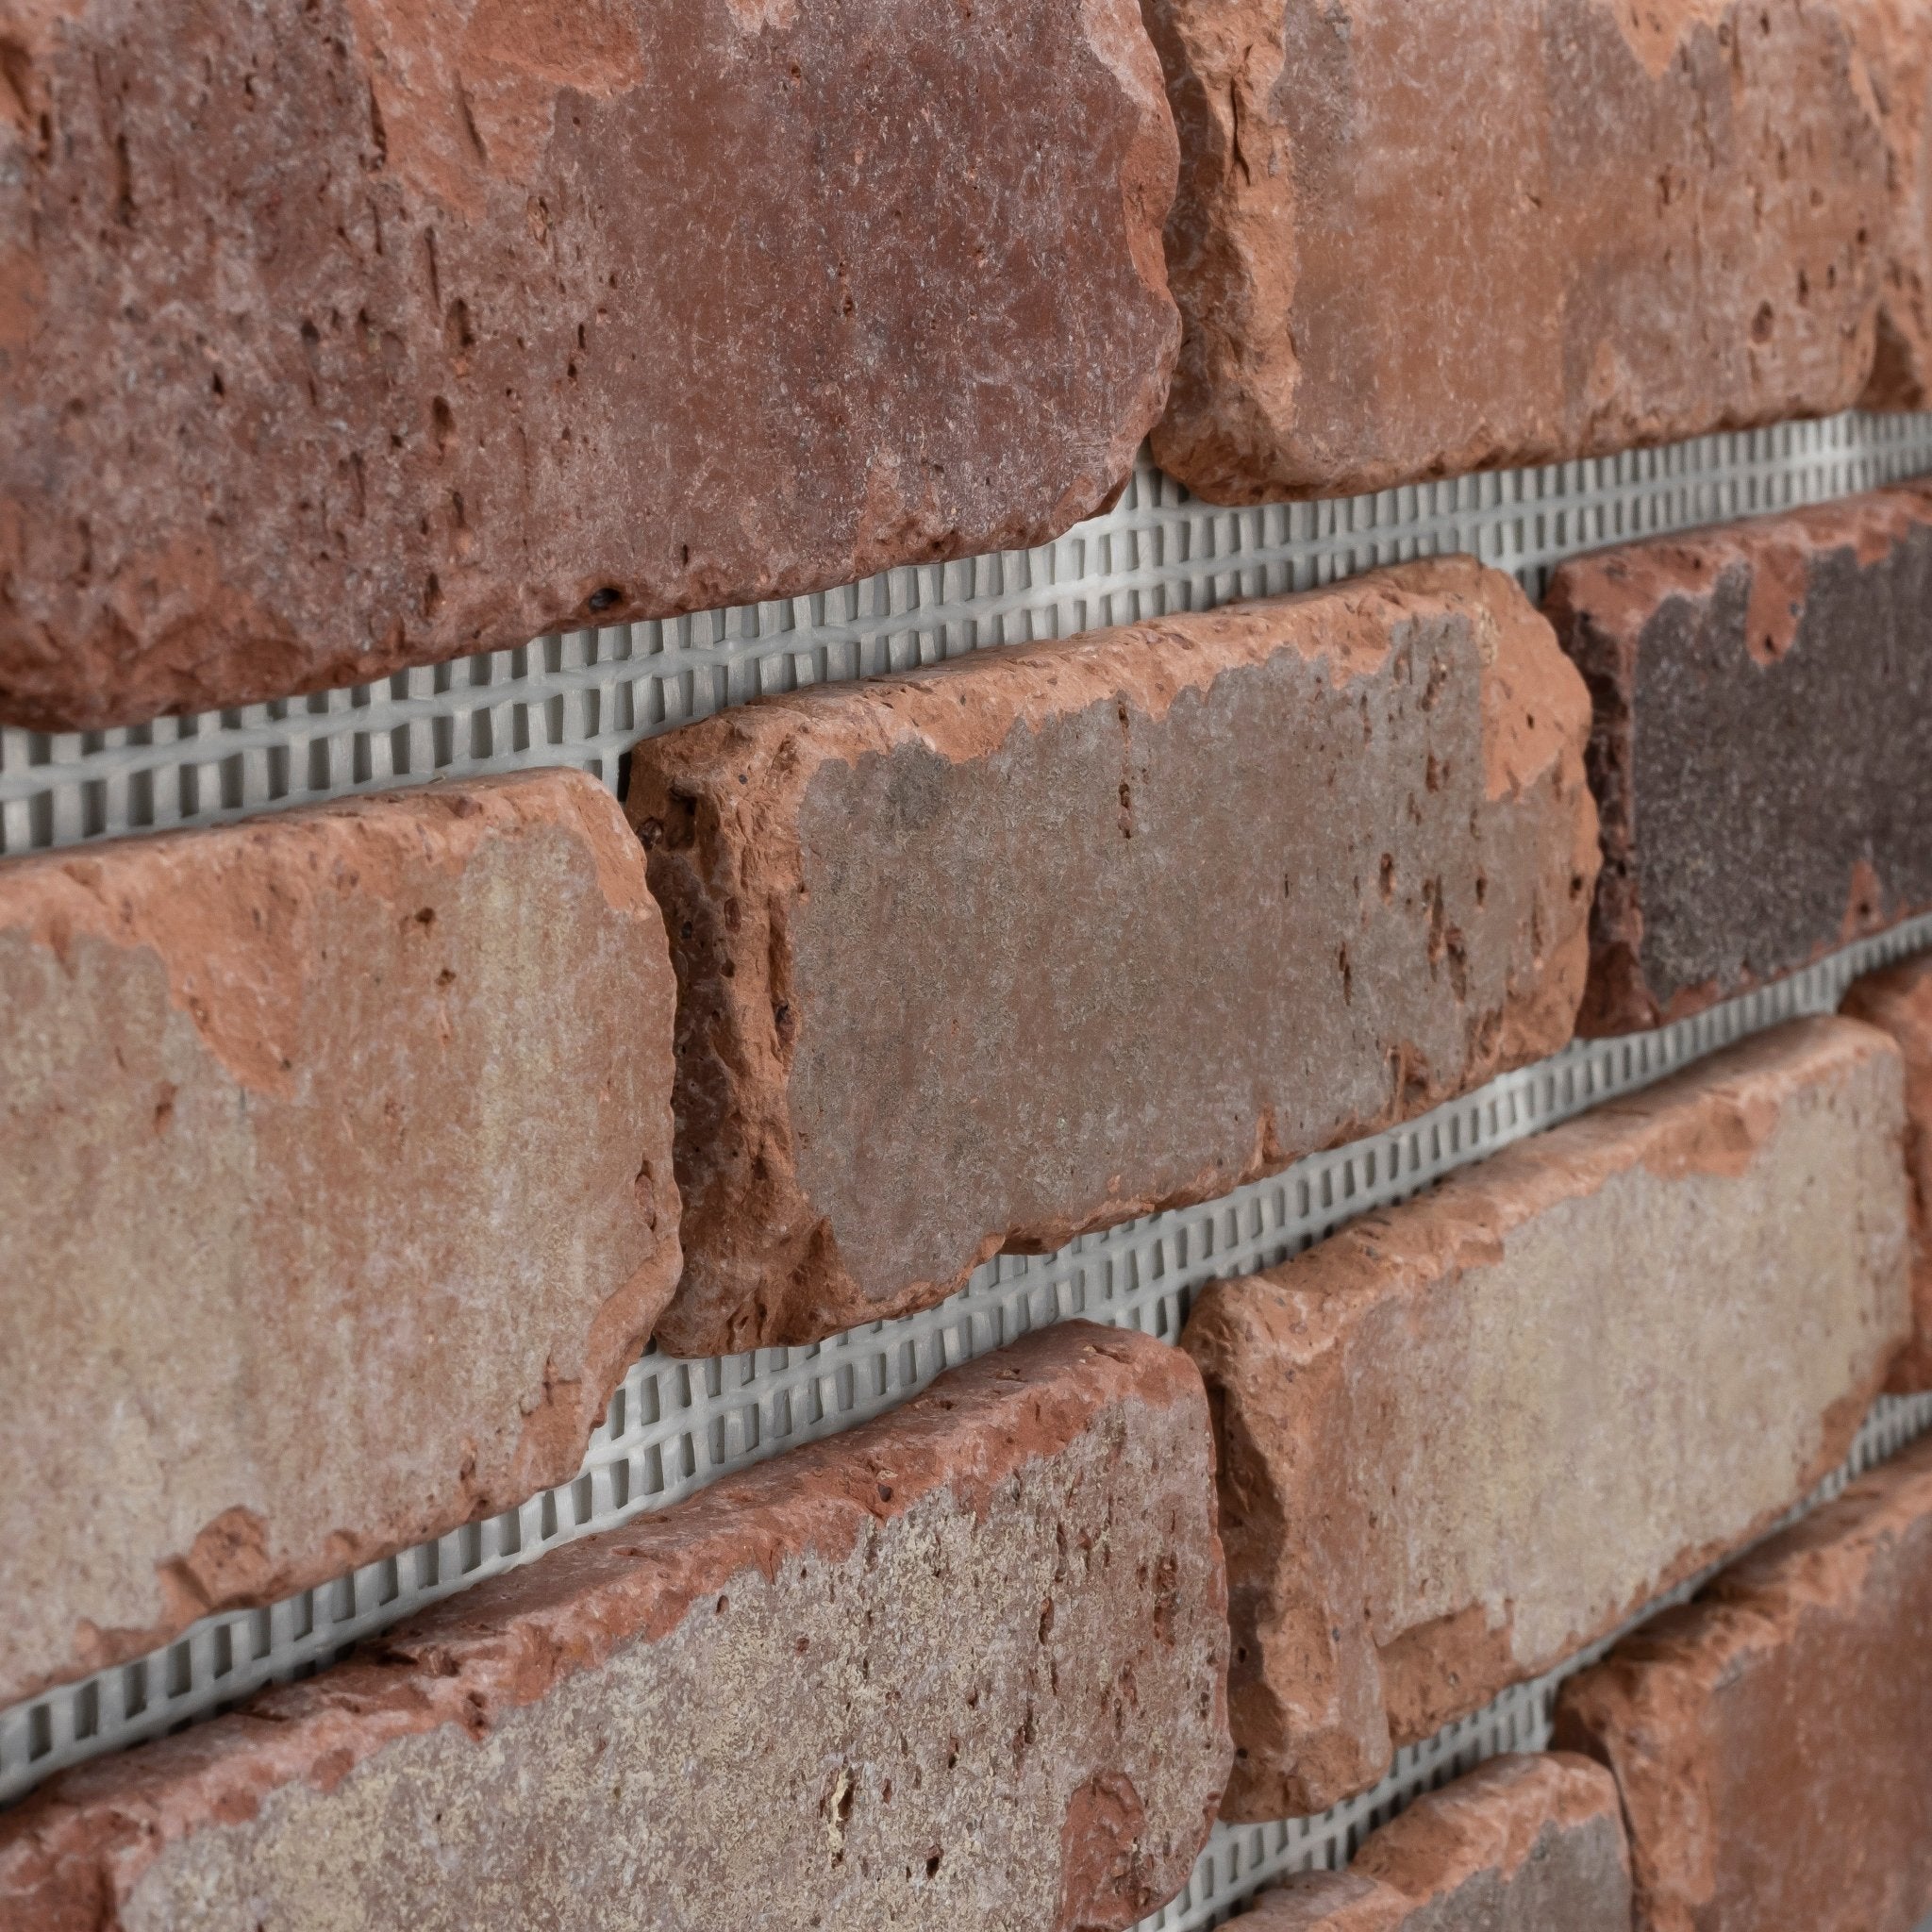
An outdoor kitchen does not have to look like a stainless steel grill dropped onto a patio. With real clay thin brick, you can build a space that feels finished, permanent, and connected to the rest of your home. That is where Brickwebb by Old Mill Brick helps. Brickwebb gives homeowners the look of real brick without the pace and complexity of traditional bricklaying. Each sheet uses real kiln-fired clay thin brick mounted on a mesh backing, so you can place up to 12 bricks at a time with consistent spacing. For a brick outdoor kitchen, that matters. Outdoor projects already have enough moving parts: framing, appliances, countertop planning, clearances, weather exposure, and cleanup. Brickwebb simplifies the finish layer so your project can move from "planned someday" to "done this weekend." This guide walks through how to plan and install Brickwebb on an outdoor kitchen surround, grill island, bar wall, patio feature, or nearby outdoor brick fireplace surround. Why Brickwebb Works for a Brick Outdoor Kitchen A brick outdoor kitchen should do three things well: Handle outdoor conditions Match the character of your home Stay realistic for a homeowner project Brickwebb checks those boxes because it uses real clay thin brick, not a printed panel or faux finish. The bricks are cut thin, mounted on mesh, and designed for faster placement across walls, columns, islands, and fireplace surrounds. Brickwebb is made for both interior and exterior applications. When installed as directed, it can be used for outdoor BBQs, kitchens, fireplace surrounds, chimneys, patios, home exteriors, porch areas, stairs, and other decorative brick surfaces. For homeowners, the biggest benefit is control. You can create a custom brick look without laying every brick one at a time. You still get the texture, color variation, and depth of real brick, but the sheet format keeps rows straighter and speeds up the work. Best Outdoor Kitchen Projects for Brickwebb Brickwebb fits a lot of backyard projects, but it works best when you have a stable, approved surface ready for thin brick. Good uses include: Grill island faces Outdoor kitchen bar fronts Patio half walls Outdoor prep station surrounds Pizza oven surrounds, outside the firebox Fireplace surrounds, outside the firebox Columns or post wraps Outdoor accent walls Seating wall faces For direct flame areas, fireboxes, or the inside of a fireplace, check the appliance or fireplace manufacturer's requirements. Brickwebb can be used around fireplaces and stoves, but you should not treat it as a substitute for a fire-rated appliance assembly or firebox liner. Before You Start: Plan the Build A good weekend build starts before the first sheet goes up. 1. Pick the project area Decide where Brickwebb will go. For a grill island, that may include the front, sides, and return walls. For an outdoor brick fireplace, it may include the face, hearth surround, and side returns. Measure each surface: Width x height = square feet Add each wall area together Subtract large openings Add extra material for cuts, corners, and waste A standard Brickwebb flat sheet measures 28 inches wide by 10.5 inches high and covers about 1.7 square feet. Standard Colonial Collection Brickwebb boxes include 5 flat sheets and cover about 8.7 square feet per box. Corner sheets are used for outside corners and are measured in lineal feet. 2. Choose the right brick color Outdoor kitchens look best when the brick ties into the home, patio, roof, trim, or landscape. A few easy directions: Warm red and brown brick for traditional patios Cream, buff, or whitewashed tones for lighter outdoor spaces Darker brick for modern grills, black trim, and concrete counters Mixed-tone brick for a more aged or natural look Before you buy the full order, request a Brick sample box. Outdoor light changes brick color throughout the day. A color that looks soft indoors may look brighter in direct sun. A sample lets you see the brick next to your patio, siding, countertop, and grill finish. You can also preview color and grout combinations with the Old Mill visualizer. Tools and Materials For a typical Brickwebb outdoor kitchen installation, gather: Brickwebb flat sheets Brickwebb corner sheets, if needed Modified thin-set adhesive rated for exterior use Type S mortar or sanded grout suitable for the application 3/8-inch notched trowel Grout bag or tile grout float Margin trowel Level Tape measure Utility knife or heavy-duty scissors Tile saw or grinder with masonry blade Bucket and mixing paddle Joint tool Stiff brush Sponge and clean water Drop cloths and painter's tape Sealant, if desired Do not rinse adhesive, mortar, or grout into a sink or drain. Use a bucket for cleanup and dispose of waste according to the product instructions. Substrate: What Brickwebb Should Go On The surface behind the brick matters. Outdoor kitchens deal with rain, sun, temperature shifts, grease, and cleaning. Start with a surface that is clean, dry, flat, and structurally sound. Common outdoor kitchen substrates include: Cement backer board Concrete Masonry Cement block Properly prepared exterior-rated surfaces Do not assume every sheathing product is ready for direct bonding. For example, some coated sheathing products may require cement backer board or another approved layer before thin brick can be installed. When in doubt, check the adhesive instructions, the substrate manufacturer, and the Brickwebb installation guide before you start. If the outdoor kitchen includes framing, appliances, gas, or electrical, check local code requirements and appliance clearances. Outdoor kitchens often include more than finish materials. Gas lines, outlets, ventilation, overhead covers, and built-in grills may require permits or licensed trades. Confirm requirements with your local building department and follow the International Code Council codes adopted in your area. Weekend Build Schedule This is a practical weekend rhythm for a prepared outdoor kitchen base. If you still need to build the structure, install utilities, or pour concrete, handle that before the Brickwebb weekend. Friday Evening: Prep and Layout Start with a clean surface. Remove dust, grease, loose paint, old adhesive, and debris. Then dry-fit a few Brickwebb sheets. This helps you see: Where cuts will land How corners will wrap Whether the first course is level How brick lines meet at appliance openings Where small cuts can be hidden Use corner sheets first when your project includes outside corners. This gives the corner a real masonry look and helps the flat sheets tie in cleanly. (See how to install Brickwebb corners.) Mark a level starting line. Outdoor patios are often sloped for drainage, so do not blindly follow the patio surface. Use a level and make the brick courses look straight to the eye. Saturday Morning: Install Corner Sheets or Thin Brick Corner Pieces Mix the adhesive according to the bag instructions. Aim for a workable consistency that holds trowel ridges without slumping. Apply adhesive with a 3/8-inch notched trowel. Work in small sections so the adhesive does not skin over before the sheet is placed. Press the Brickwebb corner sheet firmly into the adhesive. Push each brick so the adhesive keys through the mesh and contacts the back of the brick. Check the corner with a level as you go. Outside corners draw the eye. Take your time here. A clean corner makes the whole project look better. Saturday Afternoon: Install Flat Sheets After the corners are started, install the flat sheets. Place each Brickwebb sheet into the adhesive and align it with the previous sheet. The mesh helps maintain spacing, but you should still check courses with a level. Overlap the brick onto the exposed webbing where sheets meet. Space bricks evenly so the transition looks natural. Cut the mesh with a utility knife or heavy-duty scissors. Cut individual thin bricks with a tile saw or grinder. Around grills, cabinet doors, vents, outlets, or appliance openings, make clean cuts and leave the proper clearances. Follow the appliance manufacturer's instructions. Do not block vents or required airflow. Once the sheets are installed, allow the adhesive to set for about 24 hours before grouting, or follow the adhesive manufacturer's cure time. Sunday: Grout, Tool, and Clean Mix Type S mortar or approved sanded grout to a smooth consistency. Fill the joints with a grout bag or float. Work the horizontal joints first, then the vertical joints. Once the mortar becomes firm to the touch but not fully dry, use a joint tool to shape the joints. Keep the joint depth consistent and avoid digging too deep. Brush the joints with a stiff brush using diagonal strokes. This removes loose material and helps clean the brick faces. After the grout cures, clean the brick as needed. Use the cleaning product according to the manufacturer's instructions and rinse with clean water. For grout haze, use a cleaner designed for masonry or tile surfaces. Should You Seal an Outdoor Brick Kitchen? You can seal Brickwebb after installation. A flat penetrating sealer can make the brick and grout easier to clean, which helps around grills, prep areas, and dining spaces. Always test sealer on a small area first. Some sealers can darken brick or change the appearance. A flat penetrating sealer keeps the finish more natural than a glossy coating. Sealing is most useful in areas exposed to: Grease Food spills Freeze-thaw cycles Heavy rain Frequent cleaning Pool water or irrigation overspray Outdoor Brick Fireplace Design Tips If your outdoor kitchen includes an outdoor brick fireplace, use the same brick color on both features. This makes the patio feel planned instead of pieced together. A few ways to use Brickwebb around a fireplace: Full fireplace face Side returns Hearth surround Chimney chase veneer Adjacent wood storage wall Seat wall near the fireplace Keep one rule in mind: decorative veneer is not the same as the fireplace's firebox system. Follow the fireplace manufacturer's clearances, local code, and any fire-rated material requirements. For more finished-project ideas, browse the Brickwebb inspiration gallery. Common Mistakes to Avoid Avoid these problems before they cost you a second weekend: Starting without checking appliance clearances Installing over a dirty or unstable surface Skipping corner planning Letting adhesive dry before placing the sheet Forgetting to order corners Rinsing mortar or adhesive into drains Using indoor-only adhesive outdoors Blocking grill vents or access panels Choosing brick color without seeing it outside Grouting too soon before adhesive has cured Final Takeaway A brick outdoor kitchen can change how your backyard feels. It adds texture, warmth, and a finished look that plain framing, metal panels, or painted surfaces cannot match. Brickwebb makes that project more realistic for homeowners. You get real clay thin brick, mounted in sheets, with consistent spacing and faster installation. Whether you are finishing a grill island, wrapping a bar wall, or tying your kitchen into an outdoor brick fireplace, Brickwebb helps you build a space that feels permanent without turning your weekend into a masonry apprenticeship. Start with samples, choose your color in outdoor light, and plan your corners before you order. The right brick can make the whole patio feel like it belonged there from the start. Start your build Request a Brickwebb sample box Shop Brickwebb flats and corners How to install Brickwebb (PDF) Brickwebb FAQs Try the visualizer Watch our Youtube video on this outdoor kitchen FAQs Can Brickwebb be used for an outdoor kitchen? Yes. Brickwebb is designed for interior and exterior use and, when installed as directed, can be used on outdoor BBQs, kitchens, fireplace surrounds, patios, columns, and home exteriors. Make sure the surface is clean, dry, structurally sound, and compatible with the adhesive you use. Is Brickwebb real brick or faux brick? Brickwebb uses real kiln-fired clay thin brick mounted on a mesh backing. It gives you the look and feel of real brick, but the sheet format lets you install up to 12 bricks at a time. Can I use Brickwebb around an outdoor brick fireplace? Yes, Brickwebb can be used around a fireplace surround. Do not install it inside the firebox unless the fireplace manufacturer and local code allow that specific use. Always follow required clearances for fireplaces, stoves, grills, and other heat-producing appliances. Do I need to seal Brickwebb on an outdoor kitchen? Sealing is optional, but it can help make brick and grout easier to clean around grills, food prep areas, and outdoor dining spaces. Test the sealer first because some products can darken the brick or change the finish. How long does a Brickwebb outdoor kitchen project take? If the outdoor kitchen structure is already built and the surface is ready, many homeowners can install Brickwebb over a weekend. Plan one day for prep and placement, then grout after the adhesive has cured according to the product instructions.
Read more